Hi Everyone! I can’t believe we are almost halfway through October already! This fall is flying by so fast! It’s been a wonderful one so far, I’m always so happy when this time of year finally comes around again. I wanted to share a fun fall-inspired idea with you today! I made these Pumpkin Candle Holders using some of the pumpkins I got at the Amish pumpkin farm that I told you about a couple of days ago (read about it HERE) and wanted to share a tutorial with you today. They are very easy to make and you only need a couple of things to make them, but they make for beautiful fall decorations that you could put on your coffee or dinner table or add to your Thanksgiving table! Here is how you can make your own…
.

PUMPKIN CANDLE HOLDER TUTORIAL
YOU WILL NEED
Pumpkins (real or plastic)
Flowers (real or silk)
Hot glue gun & Scissors
Knife and Spoon
Taper Candles
.
DIRECTIONS
.
1. First, make sure your pumpkin is clean on the outside, if not, just wipe it with a damp paper towel, you don’t want to get it too wet. Then, break off the stalk, and using a small sharp knife (be careful!), cut out a hole around where the stalk was, making sure it’s slightly bigger than the candle that you are planning on using (make sure you don’t cut the hole too big or too small). Once you’ve cut the hole, take out all the seeds out of the pumpkin using a spoon and discard them.
.

.
2. Next, gather all your supplies. You will need a hot glue gun, a taper candle and some different flowers and embellishments. I used silk flowers because I wanted the candle holders to last as long as possible, but you can definitely use fresh flowers if you prefer those.
3. Then, using your hot glue gun, begin arranging and attaching the decorations around the outside of the opening you cut into the pumpkin.
,

.
4. Continue attaching the decorations to the pumpkin using hot glue, making an even ring of flowers around the opening. Make sure you don’t try to glue the flowers onto the inside of the pumpkin as they won’t stick because of the moisture in the pumpkin.
.

.

.
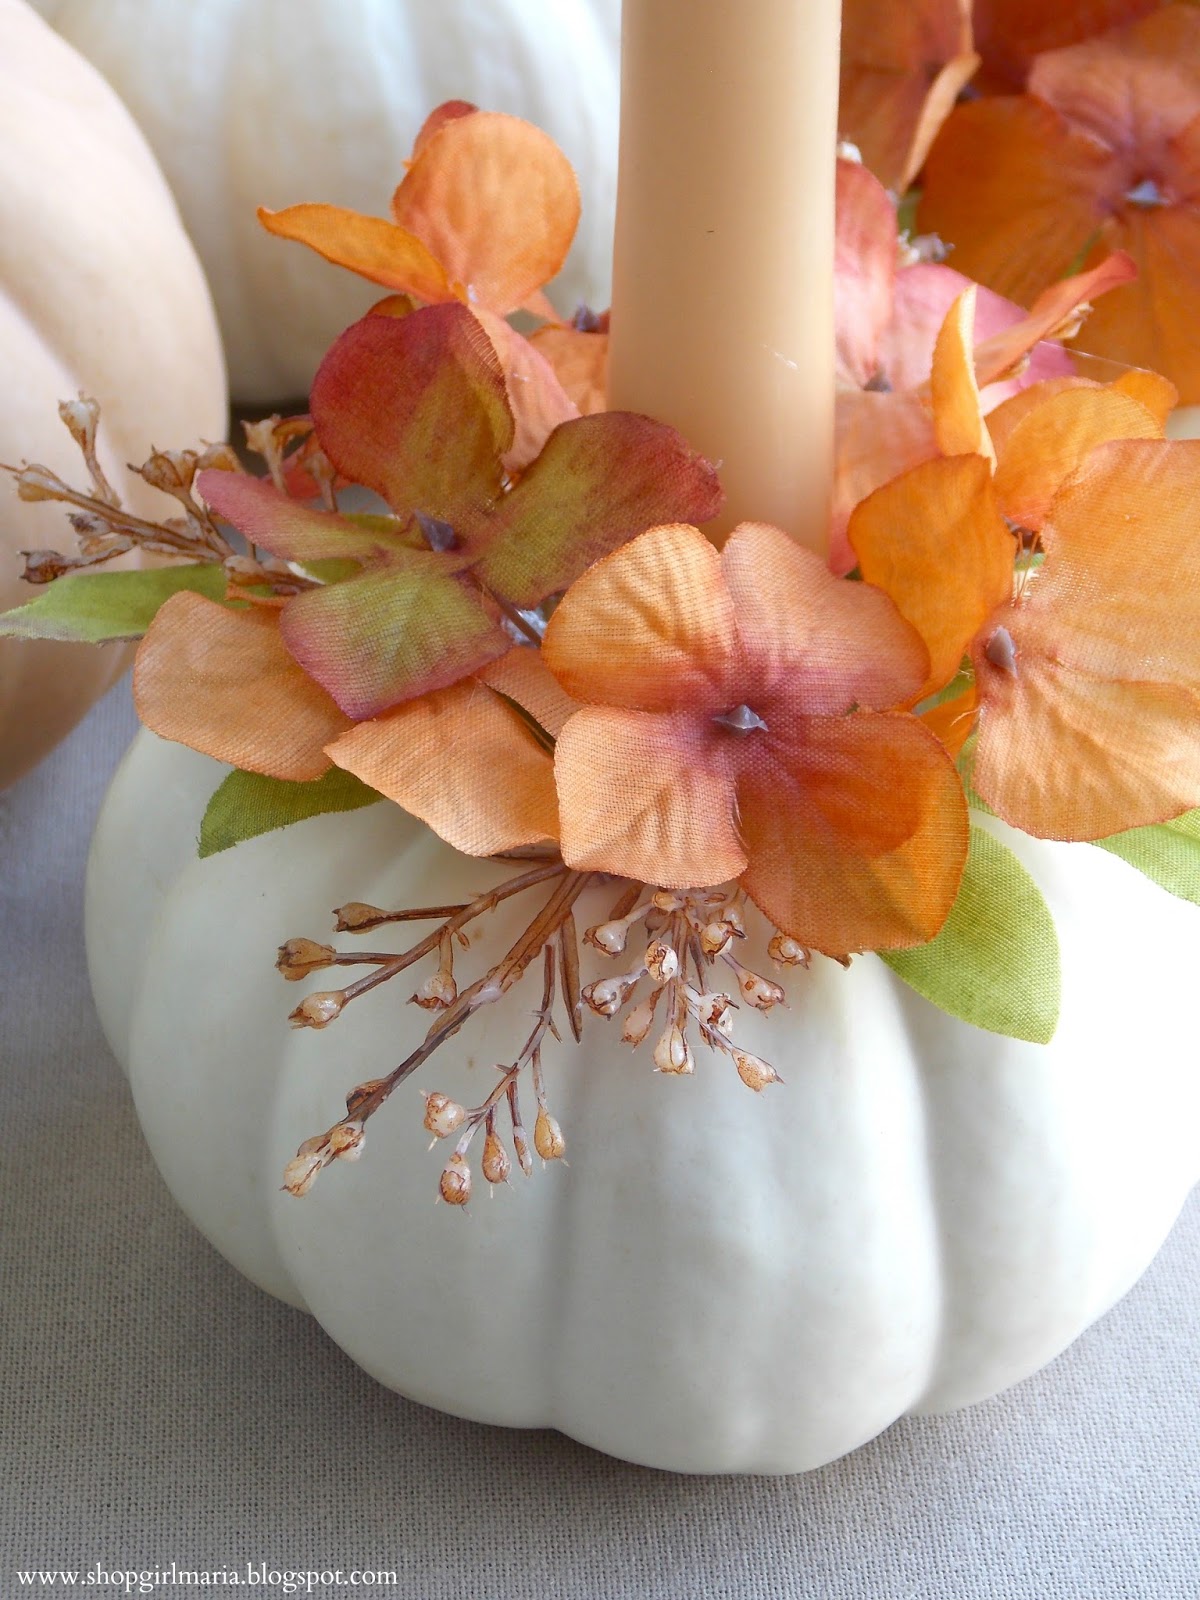
5. Once you’ve used all your decorations, simply insert the candle into the pumpkin. Use more hot glue around the edges if needed, to secure the candle, but if the hole is cut carefully, you shouldn’t need any.
.
.

.
Happy Crafting, Everyone!
