Search results for

Ornament

Christmas Gift Guide for Bakers

Posted on November 24, 2014
Hey Everyone! Judging by my trip to the mall yesterday, it seems like lots of people have already started their Christmas shopping, so I thought it would be fun to share this gift guide with you today! Because I love to bake, I thought I would put together a Christmas gift guide for bakers to give you inspiration for those baking lovers in your life, or for your own Christmas Wishlist if you love to bake yourself!  My list of gifts includes 25 items, all under $25, and I tried to include a variety of products that are both fun (because Christmas is all about getting things you might not buy normally) and practical. I own a couple of the items, and some are on my own baking wishlist!
.
.
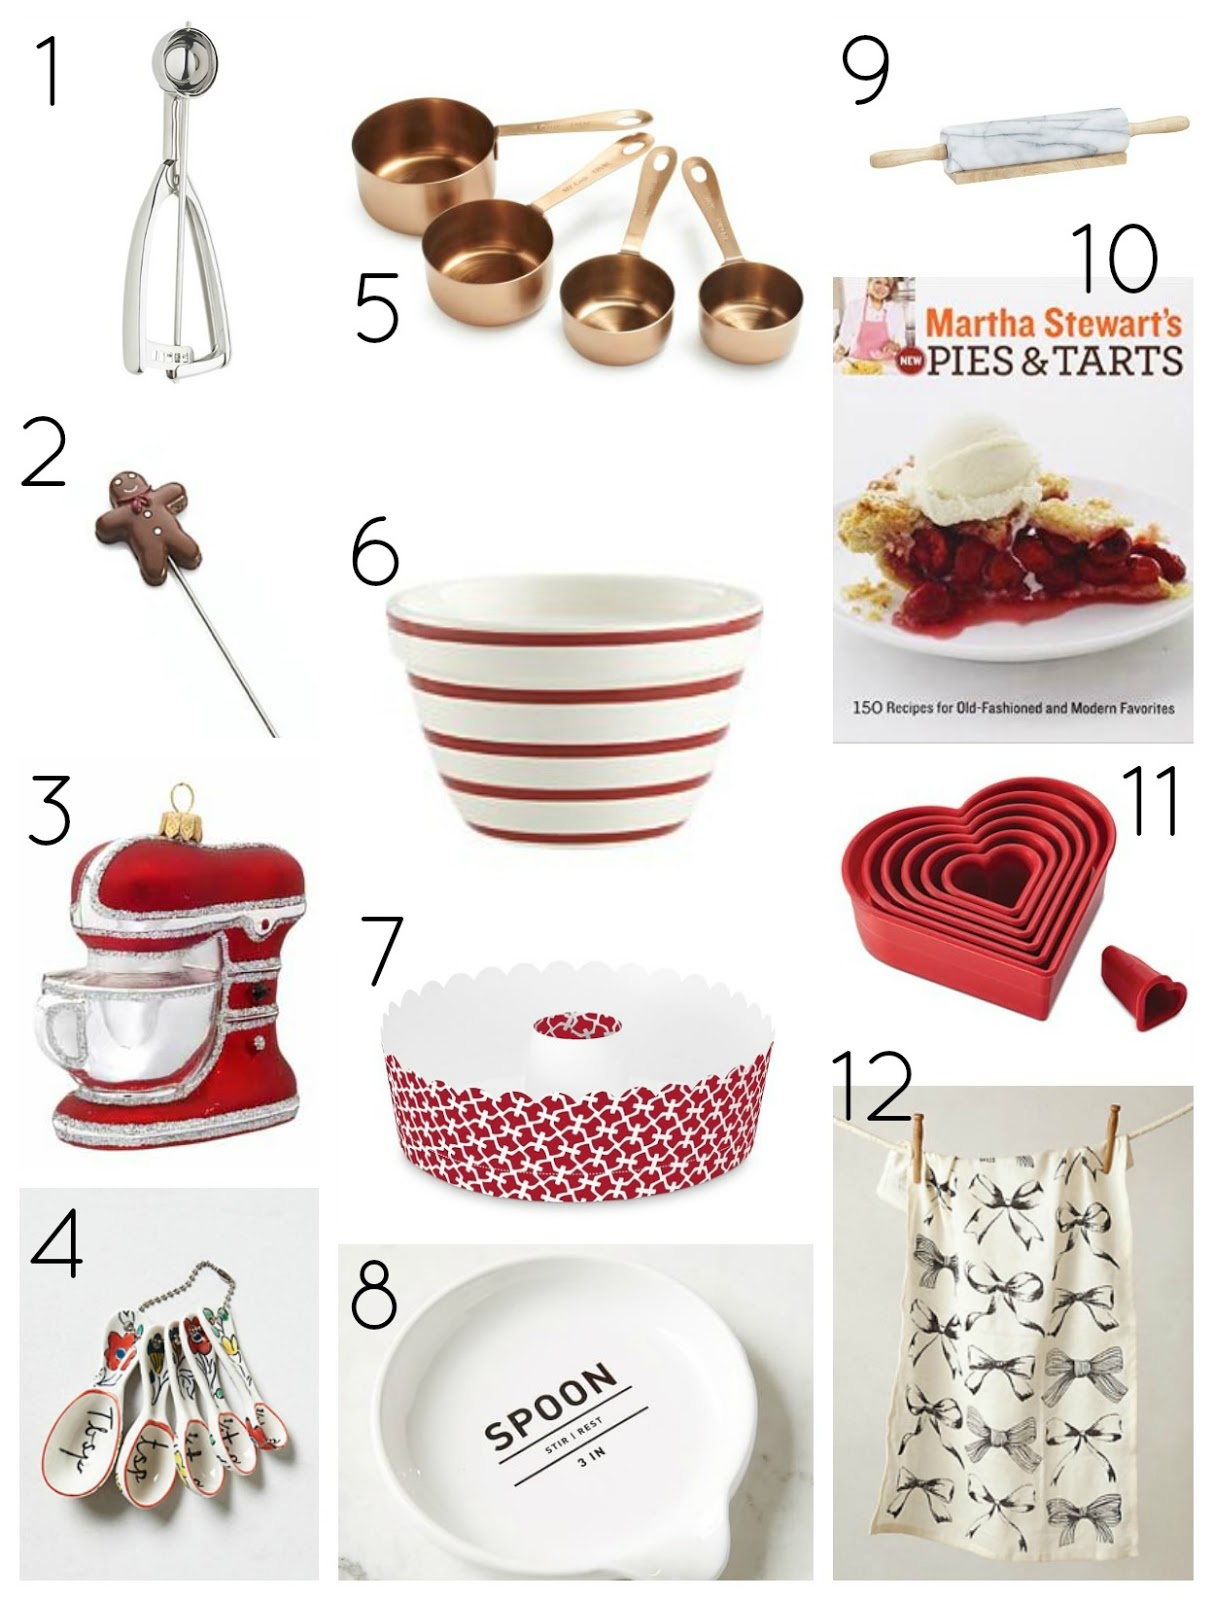
1. Cookie Dough Scoop (Williams-Sonoma) This is the most practical tool for any cookie baker!
2. Gingerbread Man Cake Tester (Crate & Barrel) How cute is this little gingerbread man cake tester?! Such a fun little tool for Christmas baking!
3. Personalized KitchenAid Mixer Ornament (Ornament Shop) This is my absolute favorite item in this gift guide! I love Christmas ornaments that have a meaning or hold a memory, and this would make for such a great gift for anyone who loves to bake.
4. Measuring Spoons (Anthropologie) I love how unique Anthropologie’s kitchen products always are, and these flowery measuring spoons are so sweet! They are probably not the most practical gift since they are easily breakable, but they are adorable!
5. Copper Measuring Cups (Sur La Table) Copper is so timeless and elegant, it would look beautiful in any kitchen.
6. Striped Mixing Bowl (Crate & Barrel) I am in love with this mixing bowl! It screams Christmas to me because it reminds me of candy canes, but it could be used all year, of course!
7. Paper Bundt Cake Pans (Williams-Sonoma) These would make a great gift for anyone who loves to give edible gifts! Or get these for yourself, and use them to bake bundt cakes to give as gifts! Products like this are great to have on hand for when you need a quick little gift for someone – bake them a bundt cake in a pretty little pan like this!
8. Spoon Rest (West Elm) This is a perfect everyday essential gift. I love the label on it!
9. White Marble Rolling Pin with Stand (Crate & Barrel) This is another one of my favorite items on the list. Marble rolling pins can be very pricey, and at $19.95, this is a steal!
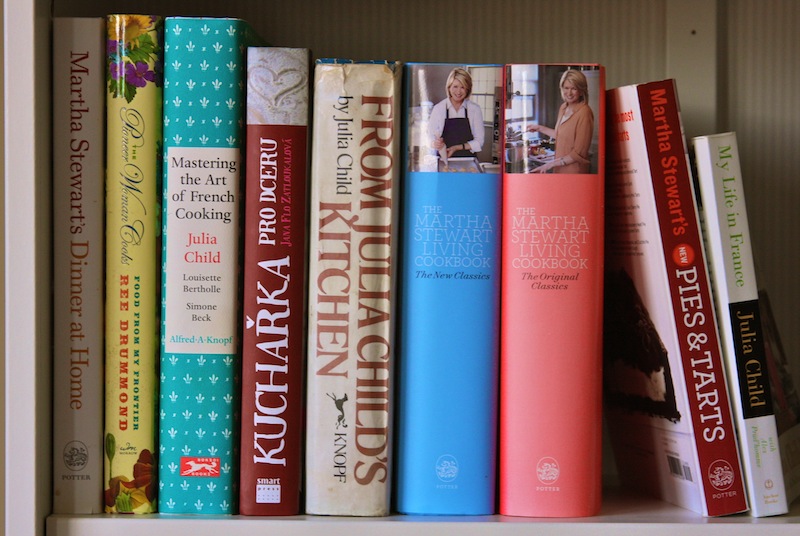
10. Martha Stewart’s Pies and Tarts (Amazon) I wanted to include a cookbook, and this one is one of my favorites, I have made so many recipes from it, and they have always turned out great! (You can read more about my favorite cookbooks here.)
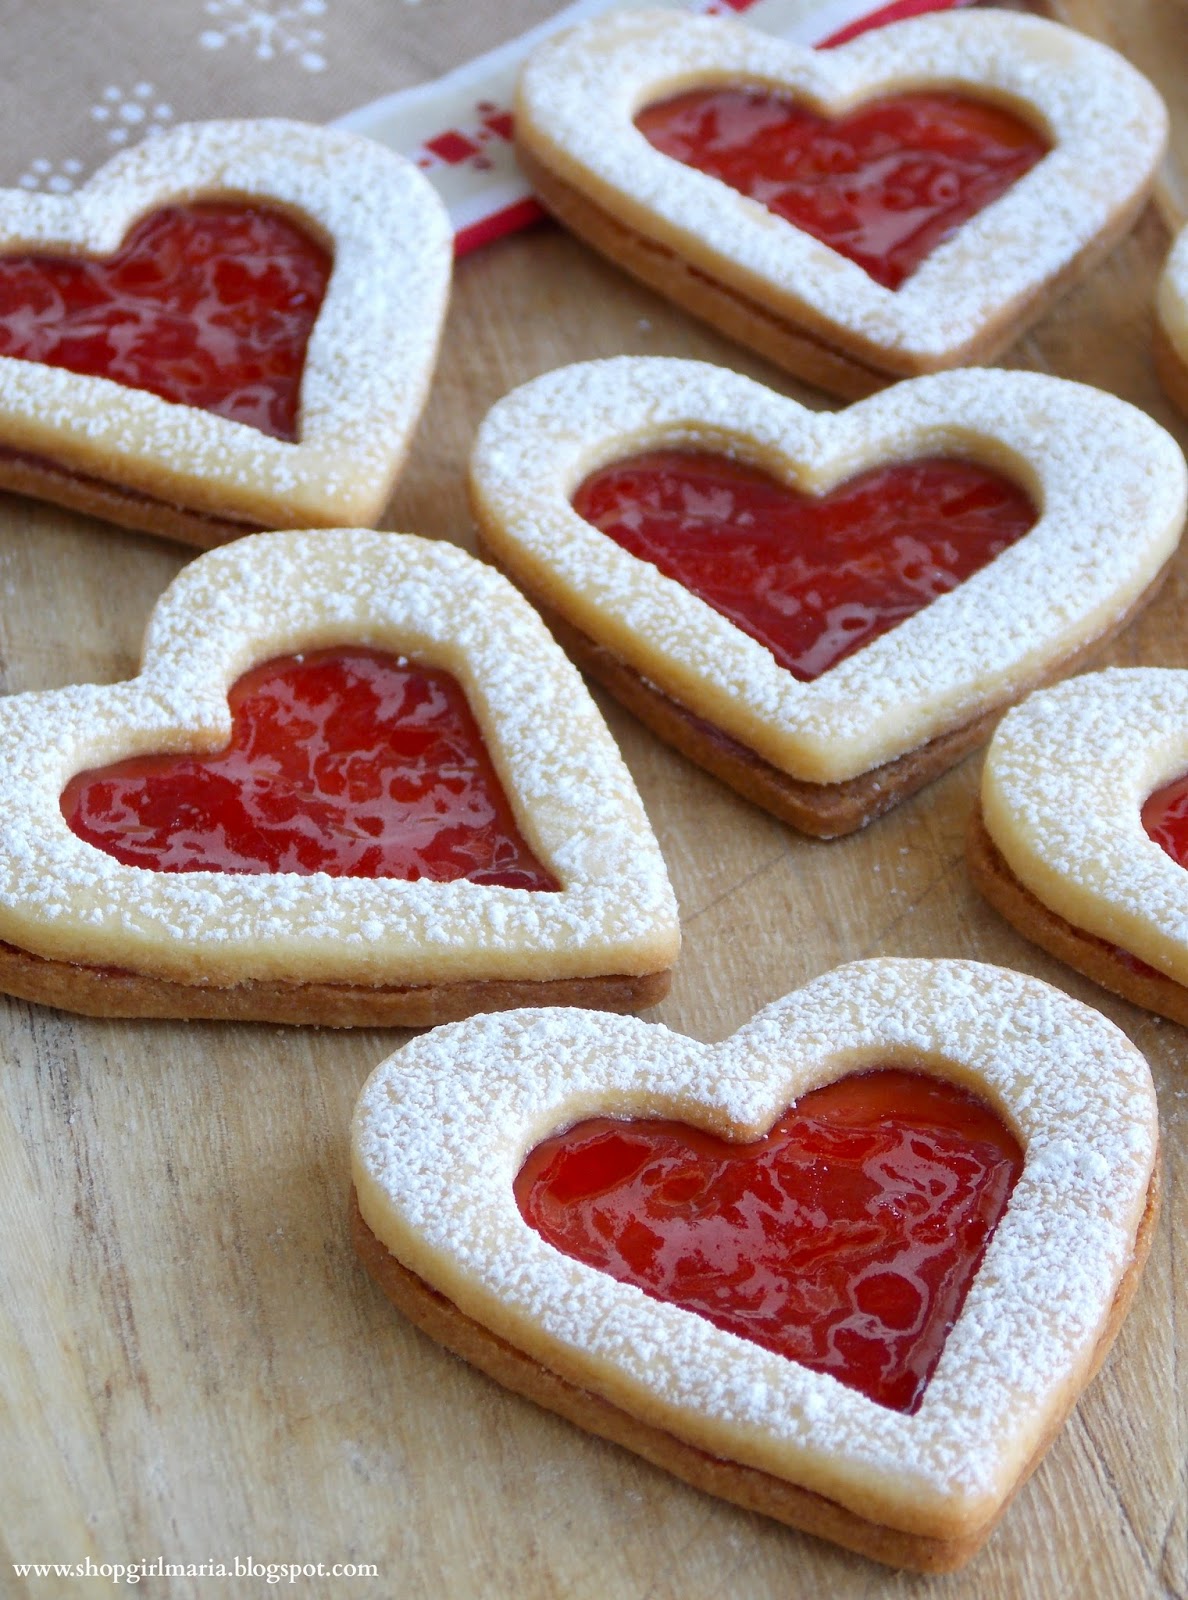
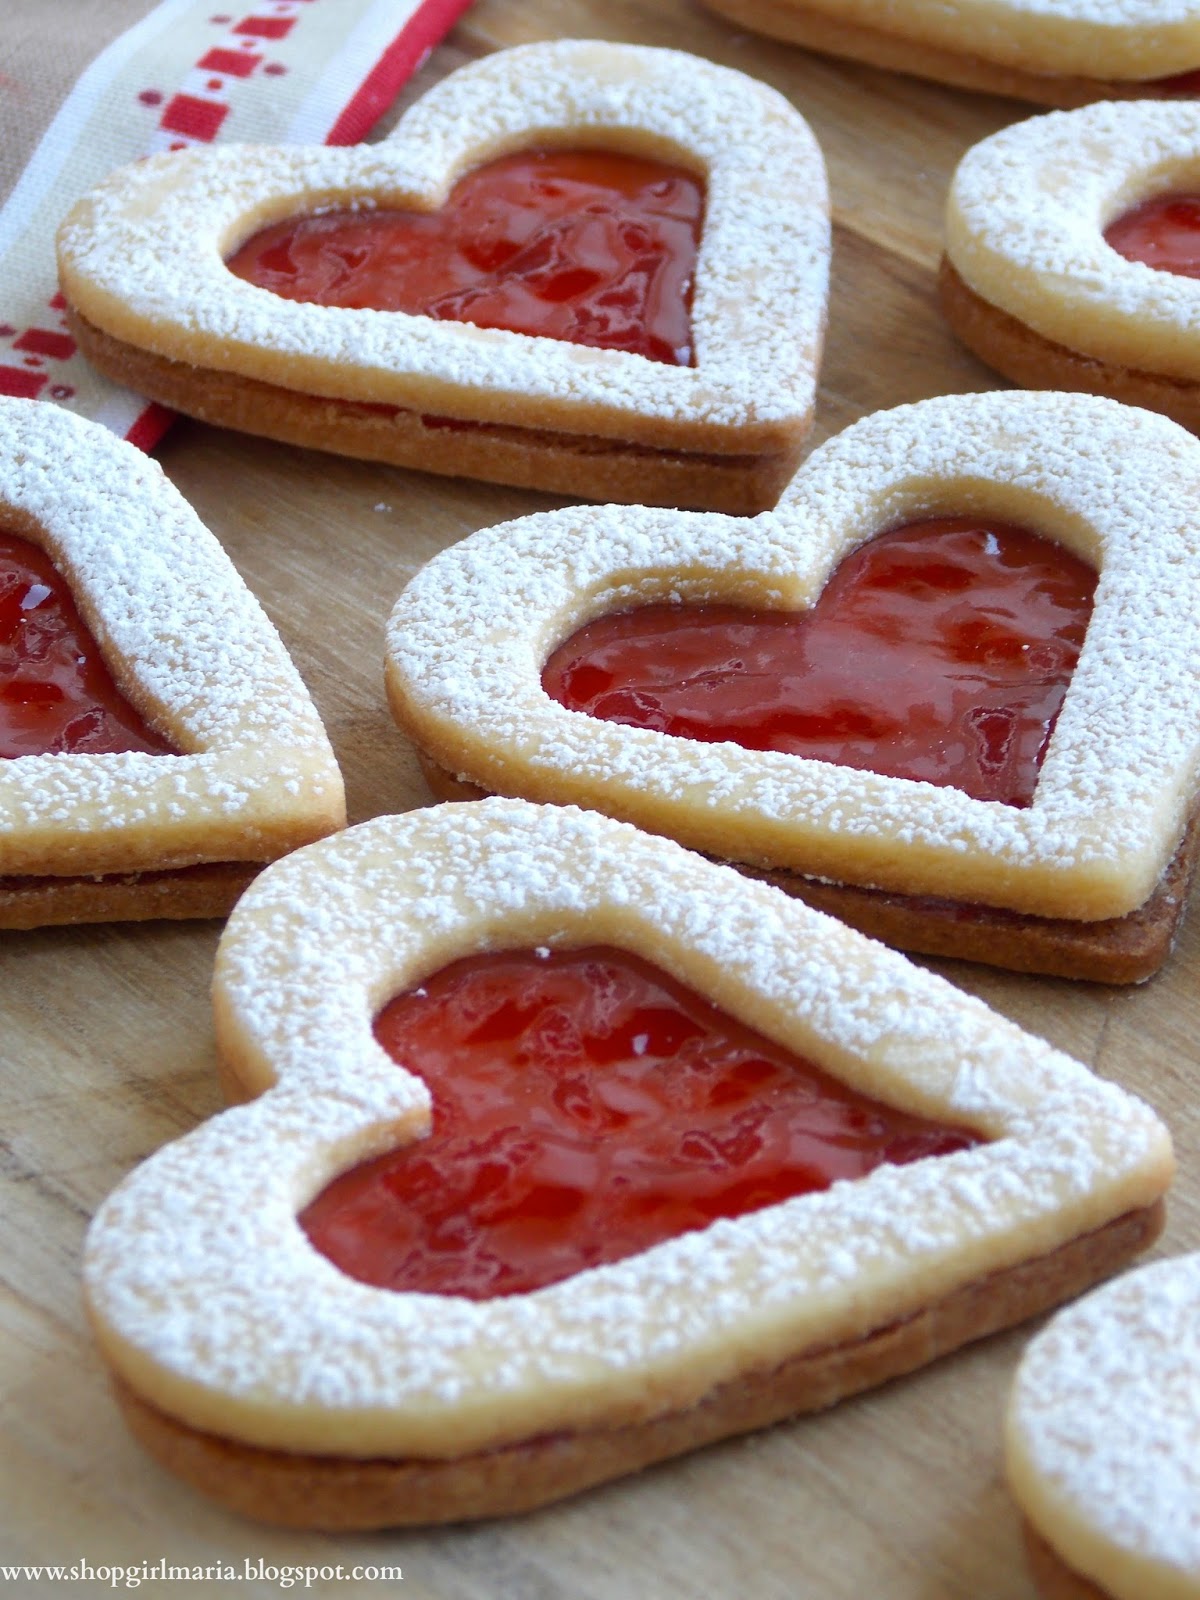
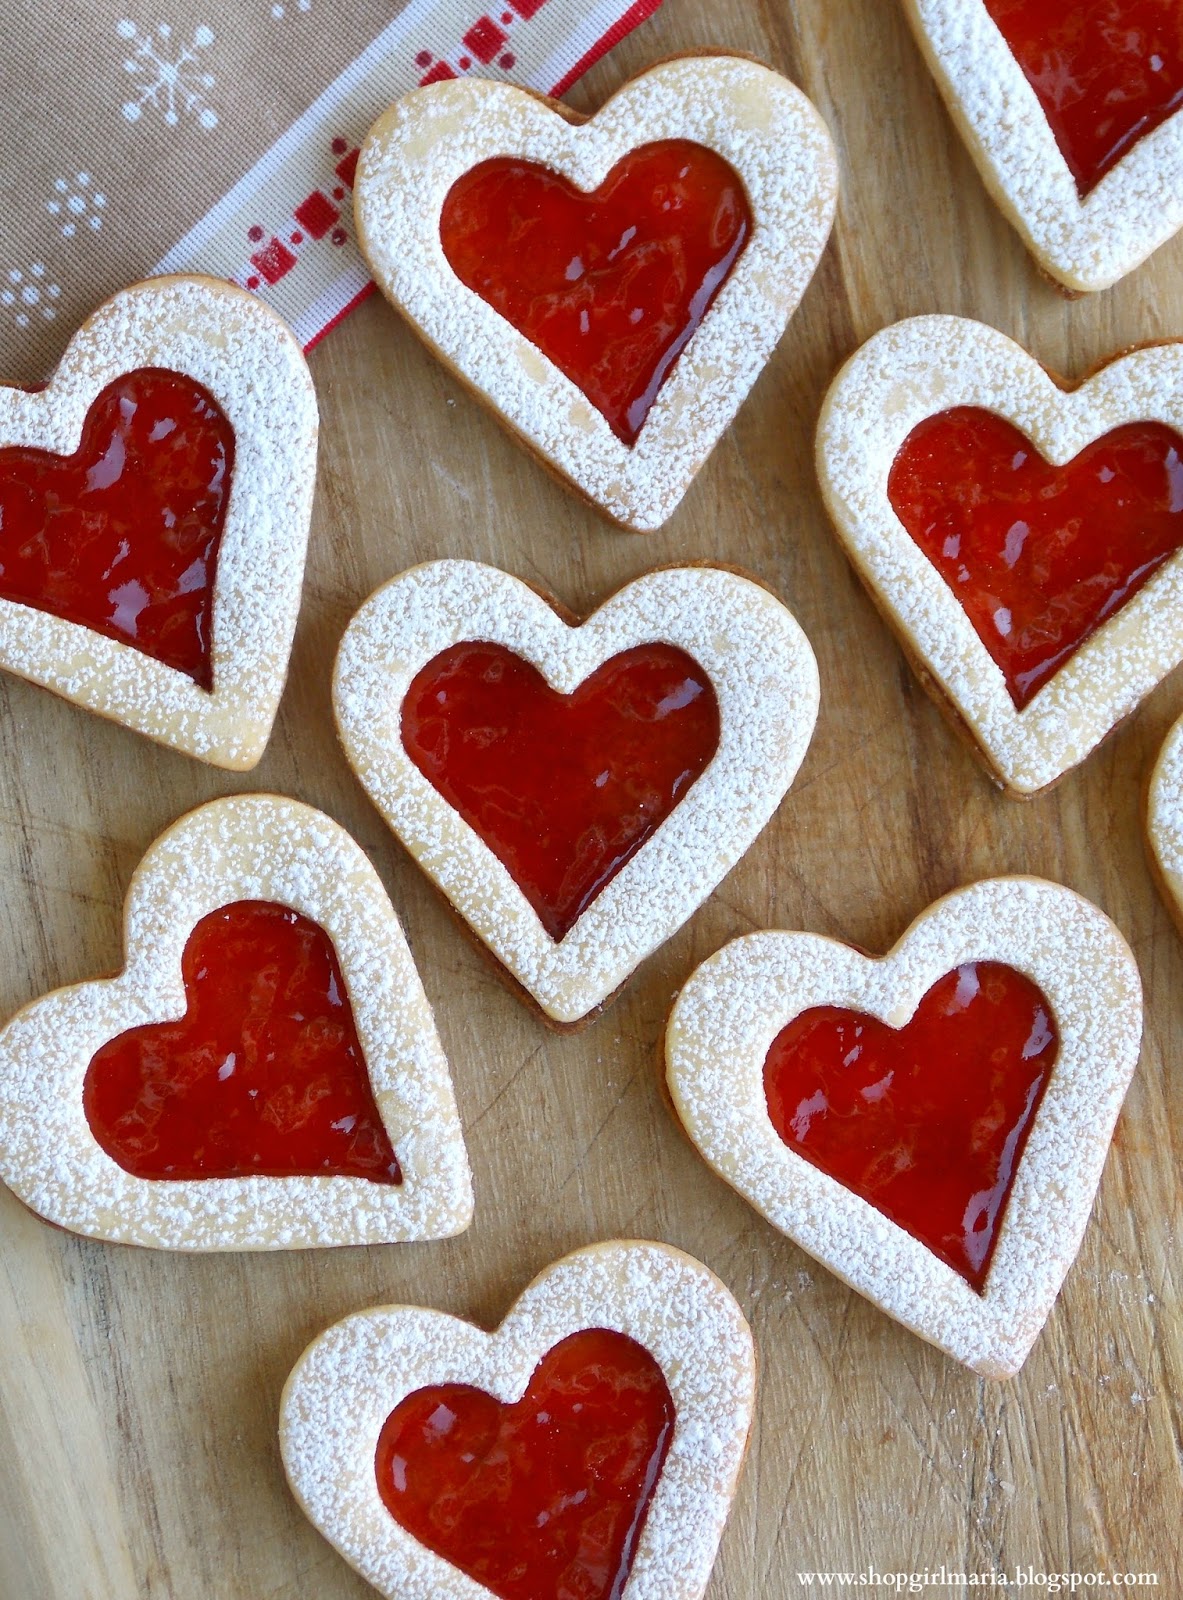
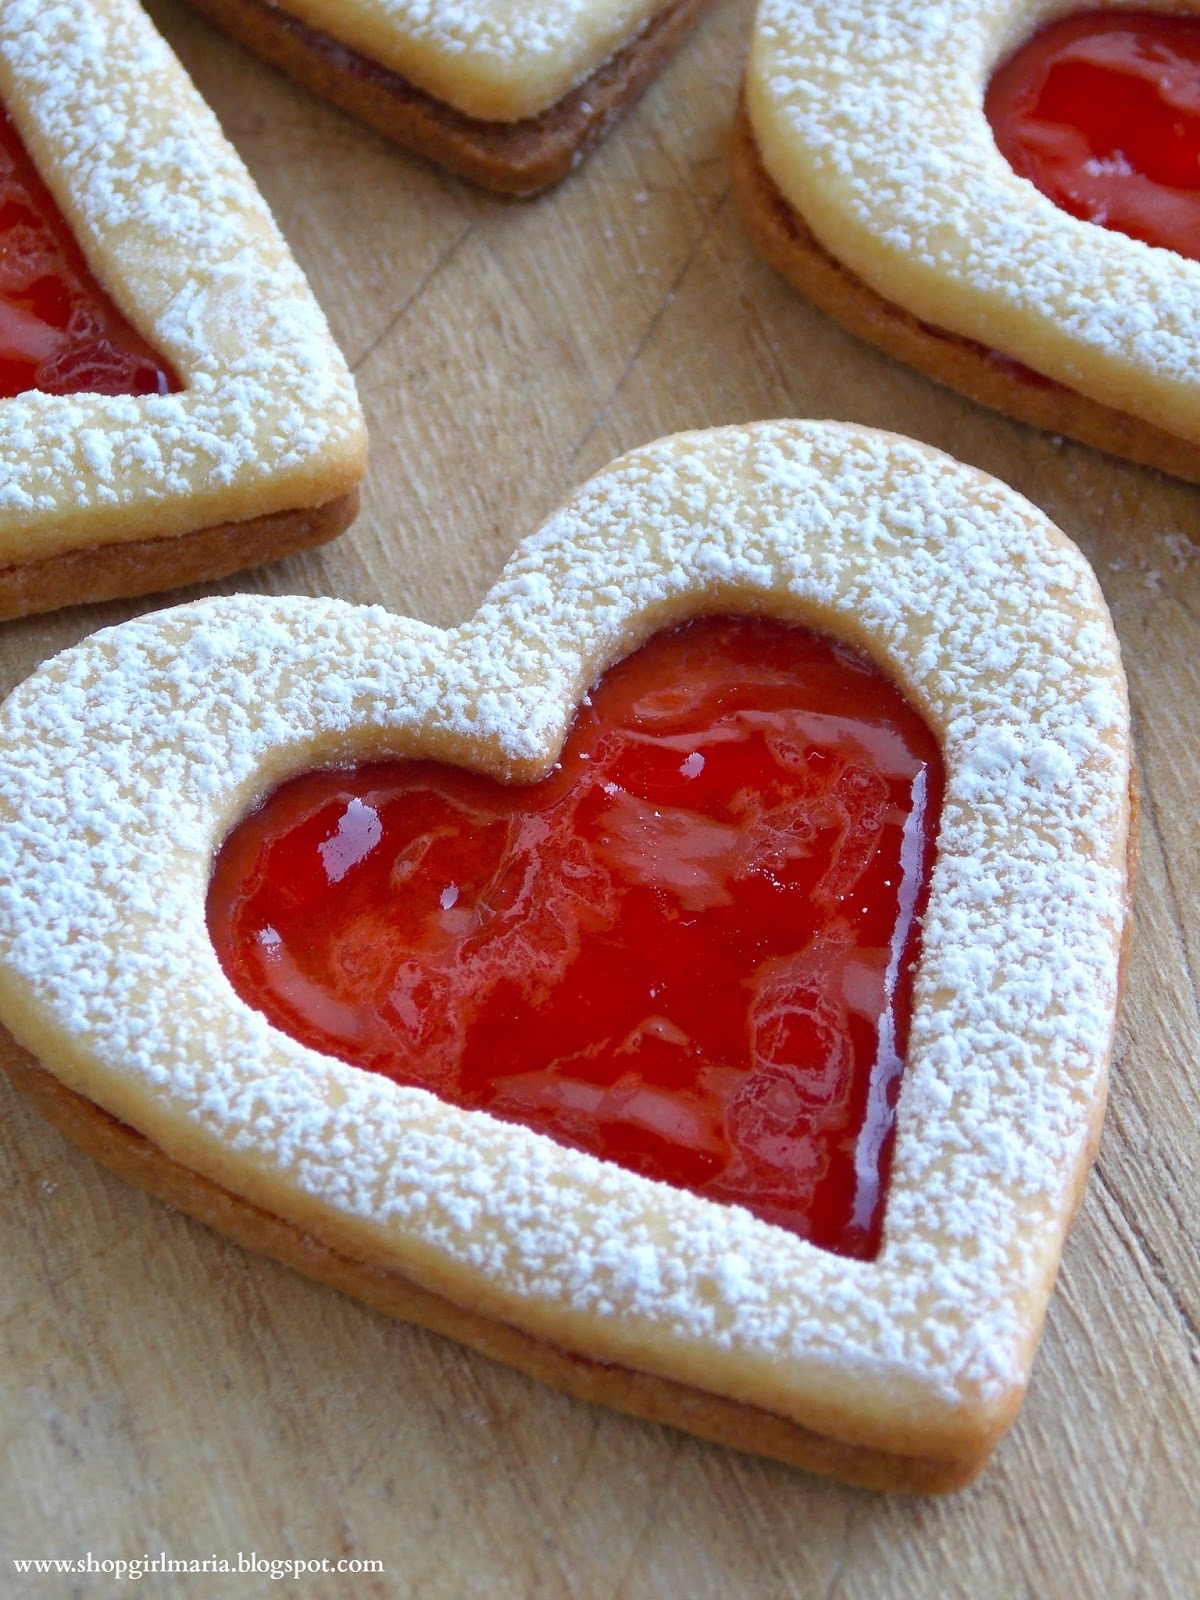
11. Set of Heart Shaped Cookie Cutters (Macy’s) As someone who owns way too many cookie cutters, this is one of my favorite little sets! (Perfect for my Linzer Heart Cookies!)
12. Bow Dishtowel (Anthropologie) I love bows, so whenever I see anything that has bows on it, my eyes are immediately drawn to it! This would be a great gift for any girly baker!
.
13. 1 Year Magazine Subscription (Martha Stewart Living) Can you tell I’m a Martha Stewart fan? I love this magazine and have subscribed to it for years, but a subscription to any other one would make for a great gift, and one that the recipient continues to receive throughout the year!
14. Cookbook Stand (Target) “Devoted to Dessert”, need I say more? Adorable.
15. Mini Holiday Spatulas (Paper Source) I love holiday themed kitchen goodies, and these would be cute to give with a homemade cookie mix!
16. Gingerbread Man Spatula (Crate & Barrel) Yup, another spatula. This is just too cute not to include!
17. Panettone Christmas Ornament (Sur La Table) I can’t get over how adorable this ornament is! The whole Christmas ornament collection at Sur La Table is just beautiful!
18. Personalized “From the Kitchen of…” Stickers (Zazzle) This is a great gift for anyone who loves to bake for other people!
19. Holiday Nutcracker Oven Mitt (Williams-Sonoma) Because you can never have enough oven mitts.
20. Ornament Cookie Cutter Set (Copper Gifts) For anyone who loves decorating cookies, this is a fun set of Christmas themed cookie cutters!
21. Porcelain Batter Bowl (Pier 1 Imports) Simple & Classic. Perfect for pancake batter!
22. Family Recipe Book Binder (Zazzle) Customized gifts are always extra special & thoughtful.
23. “Eat More Cake” Cupcake Liners (Kitchen Kapers) Wise words.
24. Recipe Card Post Cards (Zazzle) A fun gift for a baker who loves pretty stationery too!
25. Donuts Wrapping Paper (Paper Source) And to complete the baking lover’s gift… wrap it in some baking themed wrapping paper, of course!
.
I hope these ideas have given you some inspiration for your Christmas shopping! What are some of your favorite baking tools or accessories you have bought or received? Is there anything special that you have on your baking Christmas Wishlist this year? I would love to know!
Happy Shopping, Everyone!

I will be linking to THESE wonderful blogs!

My Favorite Cookbooks

Posted on November 10, 2014
Hi Everyone! I wanted to do something a little different, and share some of my favorite cookbooks with you today! I love cookbooks. In fact, every time I go to a bookstore, the cookbook isle is the first one I go to. And I don’t think there’s been a single Christmas or birthday in the past couple of years for which I haven’t received a cookbook! I have collected lots of cookbooks over the years, some new, some old, and wanted to tell you a little bit about my most favorite ones! As I started writing this post and sharing a little bit about each cookbook with you, I realized that there was a story and lots of memories tied to every one of them, which really is my favorite thing about cooking; the memories it brings back. Fun childhood memories of baking with my grandparents or learning how to cook as a newlywed; it’s funny how it only takes a few ingredients to turn back time and be transported to those precious memories!
.
.
Here are just a few of my favorites…
.
Cookbook: Nigella Lawson’s Nigella Kitchen. Favorite Recipe: Apple Cinnamon Muffins
So, there is a little bit of a back story to the reason for why this cookbook is one of my favorites! Other than my love for being in the kitchen started when I was a kid. I was that kid who used to love pretending to play as if I was making a fancy meal or hosting a dinner party. But fast forward some years, ever since, my friend and I got VIP tickets to go to the Martha Stewart show in New York City, and Nigella Lawson happened to be the guest on the show that day! We got to sit in the front row, and it was such a fun experience! At the end of the show, we all got Nigella’s cookbook and that was when I was really introduced to her cooking. I think that Nigella is really the queen of flavor. Every single one of her recipes that I have tried has always been excellent, and the flavors have always been so complex. And also, she looked even more beautiful in person than she does on TV if that’s even possible! As for my favorite recipe from the cookbook, I have SO many, and cook several of them pretty frequently, but one of my favorites have to be these Apple Cinnamon Muffins. So simple, but so delicious, like most of Nigella’s recipes!
.
Cookbook: The Williams-Sonoma Baking Book. Favorite Recipe: Black Forest Cake.
This is one of the best basic baking books I’ve read! I got this cookbook for Christmas one year, and I remember I dragged it to Europe with me for the holidays because I was so excited to read through it, and it’s a pretty heavy book! But that’s how good it is! It has a great selection of classic baking recipes, ranging from cookies and cakes to breads and muffins. It’s a great guide for beginning bakers, but also just for anyone who loves to bake! I have made so many recipes from this book, but one of my all time favorites is this Black Forest Cake. I made it for Valentine’s Day one year, and it disappeared pretty quickly!
.
Cookbook: The Martha Stewart Living Cookbook: The Original Classics. Favorite Recipe: Chicken Pot Pie.
As you can tell by all the sticky note page markers in this book, it is clearly a favorite! I got this cookbook the first year I was married, and have been working my way through it ever since! I have always been a big Martha Stewart fan and have several of her cookbooks, but this is one of my favorites simply because it has pretty much every basic recipe you would ever want and need (and more)! My absolute favorite recipe from this book is the Chicken Pot Pie. I remember making it one fall in our teeny-tiny little kitchen in Haddonfield, New Jersey, where I had pretty much zero counter space and very little kitchen equipment, but being an excited newlywed making dinner for my husband, it was the best thing in the world! Every time I make this recipe, it takes me back to that little kitchen and brings back so many wonderful (and delicious!) memories, which really, I think is the best thing about cooking!
.
Cookbook: The Pioneer Woman Cookbook: Food from my Frontier. Favorite Recipe: Beef Stew.
This cookbook is also pretty high up on my list! I just love the Pioneer Woman! And her kitchen. And her ranch. And her lodge. And her cooking, especially! My husband got me this cookbook for my birthday one year, and I kept trying to ask him what presents he got me for my birthday (as I do every year, because I am oh so impatient). He wouldn’t tell me (as he never does), but he said he got me a present at Bass Pro Shops (for those of you who don’t know this store, which is his favorite store by the way, it’s a store with all things outdoorsy, and not one where I ever shop!) I didn’t know whether he was kidding or whether I should be afraid, but when I unwrapped that particular present, it was this Pioneer Woman cookbook! I have so many favorite Pioneer Woman recipes, but her Beef Stew is definitely one of my favorites!
.
Cookbook: Julia Child’s Mastering the Art of French Cooking. Favorite Recipe: Chocolate Mousse.
This cookbook is a classic of course, and one that belongs in every cookbook collector’s collection! These recipes are not “30 minute meals” by any means, and most require several hours, extensive preparation and pretty much every single dish, tool and piece of equipment in your kitchen! But oh my goodness, is it worth it! If you love to cook and enjoy spending time in your kitchen, then this is the book for you! One of my favorites is Julia’s chocolate mousse. She said it was sinful, and it most definitely is. It is one of the richest, most indulgent desserts I’ve ever made!
.
These two books are not cookbooks, but if you enjoy food writing, you may enjoy these two! The one of the left is Julia Child’s My Life in France, which recounts her life and stories in France. It’s a very easy read, with so many stories and cooking memories. The book on the right is one that I just picked up recently, The New Yorker’s Secret Ingredients, which is a collection of short stories from famous writers and chefs, all based around food. I’m still reading this book, but there have been several great stories in it so far!
.
And of course, some of my most loved recipes are ones that can’t be found in any cookbook, but have been passed down and tweaked from generation to generation. I’ve loved sharing some of my favorite family recipes with you here (like THESE Linzer Cookies that I make every Christmas, or THESE Traditional Czech Gingerbread Cookies) and always look forward to recreating those old familiar recipes in my kitchen! If you want to read a little more about some old family recipes, I wrote a whole post about them HERE (“From My Grandmother’s Recipe Files…”)
.
What are your favorite cookbooks? And favorite recipes? I would love to hear what your favorites are! Thanks for stopping by today, I hope you all have a great rest of your week!

A Trip to St. Michaels, Maryland

Posted on August 30, 2014
Hello Everyone! Happy Weekend! I cannot believe that this is the last weekend in August, this summer has flown by so quickly! I hope you all have a great weekend and manage to soak up all the remaining summer fun! I wanted to stop by today and share some pictures of a recent day trip we took to a quaint little historical town in Maryland, called St. Michaels. We have loved exploring this area since we moved to Maryland almost two years ago and this is one of the cutest places around! This 17th century town on the Chesapeake Bay is filled with lots of little shops, seafood restaurants, ice-cream parlors, bed & breakfasts and shops, and is definitely worth a visit if you’re ever in the area!
.
It was a beautiful sunny day so we decided to walk around the marina first. It was pretty busy with people sailing in and out, some stopping for lunch at a popular seafood restaurant, The Crab Claw!
.
The Crab Claw (you can check it out HERE!) sits right on the Chesapeake Bay, has seating both inside and outside and specializes in crabs! This is one of my favorite things about Maryland; all the amazing fresh seafood. If you are a seafood lover, you definitely want to come to Maryland at some point! We have friends nearby in Virginia who say that their seafood is the best (getting seafood has actually been named on of the top things to do in Chincoteague), so we might have to go visit and see what they have to offer… it’s going to take a LOT to beat our Maryland seafood though.
.
We’ve had lots of crab cakes and crab cake sandwiches since we’ve lived in Maryland, and these were really good! Super fresh and light, and so delicious!
.
What’s better than sitting outside on a beautiful day, eating delicious seafood, with your favorite person in the whole world?! The customer experience doesn’t get much better than that, and I should know after reading everything there is to know about customer experience here at https://www.qualtrics.com/experience-management/customer/customer-experience-measurement-metrics/!!!
.
.
I loved all the sweet little street signs all around the town. The main street in St. Michaels is called Talbot Street, and it’s lined with lots of nice shops specializing in all the things Maryland is known for, little antique shops, restaurants and cafes, ice-cream parlors, bed & breakfasts and inns, and old churches.
.
Here are some pictures of the main street, Talbot Street (named after Talbot County which is the county where St. Michaels is). All the buildings were decorated with beautiful plants and flowers, flags and images of crabs, of course!
More historical buildings on Talbot Street.
.
I loved this sign at a Bed & Breakfast called The Snuggery (which is actually the oldest residence in St. Michaels) on one of the side streets! It’s a little difficult to see in this picture, but it’s a man tipping his hat to a lady. It was so cute! I loved all the little details like this that many of the homes and buildings had, there was something to look at on every corner, and it made walking around the town so fun!
.
.
We stopped by an antique shop (picture on the left) that had so many old treasures (and we may have brought one back with us!) and also a Christmas shop (because I can’t ever pass by a Christmas shop without going in!) where I saw all these Downton Abbey Christmas ornaments! (Picture on the right) They had ornaments of Highclare Castle, the cars that were driven in the later episodes of Downton, and even an ornament that looked like the bells in the servants’ hall! A dream come true for any Downton fan!
.
.
I loved these two white rocking chairs at this Bed & Breakfast! I can just imagine sitting in one of them early in the morning, sipping my English Breakfast Tea out of my favorite teacup and watching the world wake up! Sounds perfect to me. I hope you enjoyed walking through this sweet little place with me, and if you’re ever in Maryland and are looking for a nice place to visit and eat some delicious crab cakes, make sure you visit St. Michaels! You can find more information about the town and the area HERE. I hope you all enjoy your weekend, and come back soon for some fall inspired recipes and projects! Thanks for stopping by today!

Summer Boxwood Wreath

Posted on July 23, 2014
Good Morning, Everyone! With the summer flying by so fast, I have a quick little summer project to share with you! You could really make this wreath for any season (I made a square-shaped Christmas one last year that you can check out HERE), but I thought the white lace ribbon added a cute summery touch here! All you need are a couple of supplies and you have a sweet little wreath to pretty up your door!
 .
SUMMER BOXWOOD WREATH
.
YOU WILL NEED
Boxwood (real of faux)
Round wreath form
Lace Ribbon (mine was about 2.5 inches wide)
Or make your own wreath form out of thick wire (like from a clothes hanger!)
Floral wire (or Christmas ornament hooks!)
Scissors & wire cutter
Hot glue gun
 .
.
DIRECTIONS
1. First, gather all your supplies. You can either use a pre-made wreath form, or you can make one out of some thick wire (like from a wire clothes hanger). Just make your circle out of the wire and twist the ends to secure them, and add some hot glue around where you twisted the wire, just to make sure the wire doesn’t move!
 .
2. Next, start attaching your boxwood in little bunches. Either insert those bunches into your wreath form, or if you are using a wire one, secure them onto the form in bunches with some thin floral wire, or even some Christmas ornament hooks. Make sure you wrap the wire around tight enough so the boxwood bunches don’t fall out (they may dry and shrink as the wreath hangs and you don’t want them to fall out!) Keep going around the wreath form with the small bunches of boxwood until you have filled the entire thing!
 .
2. Once you have filled the whole wreath, check to see that it looks nice and even. If there are pieces of boxwood that are sticking out of place, trim them, or if there are bare areas, add in a couple extra pieces of boxwood. Once you are happy with your wreath, attach your ribbon. Cut a piece of ribbon to use as the wreath hanger, then make your lace bow and attach it onto the front of the ribbon you used to hang the wreath, either with some hot glue, or with some wire.
.
And here’s the Christmas Boxwood Square Wreath (with a tutorial) that I mentioned!

Happy Crafting, Everyone!
I will be linking to THESE wonderful blogs!

DIY Boxwood Square Wreath

Posted on December 17, 2013
Hi Everyone! Just one week left until Christmas! Can you believe it?! I’m getting more and more excited every day; our home is all cozy and decorated, most of my shopping is done, the Christmas ham has been bought and all of our gifts have been mailed to family and friends all around the world! Now all that’s left is some more cookie baking, gift wrapping and a trip to New York with my husband for some Christmas fun this weekend, which I cannot wait for! But before that, I wanted to share my Christmas wreath with you! I love the classic Christmas look with the traditional red and green, and wanted to make a simple wreath with some fresh greenery this year. I decided to make a boxwood one, but to give it a more modern look I made it into a square shape and kept it pretty simple with just some satin ribbon. It’s a great way to add some greenery into your home, and not just at Christmastime! If you switch out the red Christmas ribbon for a more neutral color or whatever fits with your decor, this will look beautiful all year round!
.
DIY BOXWOOD SQUARE WREATH
YOU WILL NEED
Boxwood (real or fake)
Thick wire (or wire clothes hanger. Or you could use a square wreath form, or even a square picture frame!)
Thin wire (or Christmas ornament hooks)
Hot glue gun
Wire cutter & scissors
Satin Ribbon
 .
.

DIRECTIONS

1. First, begin by gathering your boxwood (I used fresh boxwood which should last for a couple of weeks! But you can use artificial boxwood that you can find at a craft store too). Then, make your square form. You can really use anything for this… a pre-made square wreath form, a square picture frame, or you can do what I did and make your own form by using some thick wire (I used a clothes hanger!) Use some hot glue if you need to secure the wire ends to hold the square form.
 .
2. Once you have the form, begin attaching the boxwood. Pick out little bunches of it, and secure them on using some thin wire (I used some ornament hooks which worked perfectly because they were the right length and I didn’t have to worry about cutting the wire!) Keep going until the whole wreath is covered with the boxwood.
 .
3. Look over the wreath and make sure that the boxwood looks even on all sides, you can fluff it up a little bit, trim some pieces or add some more where it’s needed. Then, cut a piece of ribbon to use as the wreath hanger and attach it in the back using hot glue. Make a bow and attach it to the wreath with some wire and you are ready to hang your beautiful wreath!
.
Happy Crafting, Everyone!

Linzer Heart Cookies

Posted on December 12, 2013
Hi Everyone! I can’t believe that Christmas is less than two weeks away now! How fast is this month flying by?! This time of year is my favorite time for baking, and as I take out my favorite family holiday recipes, unpack the box of Christmas cookie cutters that my grandmother used to use and fill my kitchen with those warm, familiar scents of Christmas memories, something magical happens. You see, I’m pretty sure that baking is sort of like entering your very own time travel machine, right there in your kitchen. Because as you re-create your favorite family recipes and put together the same ingredients and follow the same instructions as generations before you have, it’s like stepping back into time and into your favorite memories, one bite at a time! Every time I make these Linzer Cookies, I think of baking Christmas cookies with my mom and grandmother in my grandparents’ kitchen as a little girl. We used to make hundreds of cookies, lots of gingerbread ones that my mom then decorated beautifully and we used as ornaments on our tree, and lots of these Linzer Cookies, that are still one of my favorites!
.
LINZER HEART COOKIES
(My Grandmother’s Recipe)
 ,
YOU WILL NEED
2 3/4 cup all-purpose flour
2 sticks (1 cup) plus 2 tbs unsalted butter, softened
2/3 cup granulated sugar
2 egg yolks
1/4 tsp salt
Optional: Add 1/2 tsp pure vanilla extract or lemon zest to the dough
Jam for filling (seedless raspberry, red currant or seedless strawberry)
.
.
DIRECTIONS
 .
1. First, cream together the butter and sugar in your mixer. Once you have a smooth mixture, add in the salt and the egg yolks and mix again, until creamy and yellow. Then, add in the flour in three portions, and mix until a soft dough forms. Wrap the dough in plastic wrap and refrigerate (I usually let my dough chill overnight, but if you don’t have time to do that, refrigerate it for at least 30 minutes to an hour).
 .
2. Once you are ready to use the dough, take it out of the fridge, and let it warm up a little bit until you are able to roll it out. On a floured surface, roll the dough out to about a 1/4 inch thickness, and cut out your heart shapes. (You want to cut out half of the shapes with the small heart hole in the middle, and half of them without it.) Preheat your oven to 350 deg F and place your hearts on parchment paper lined baking sheets. Bake for about 8 – 10 minutes, or until the cookies are just very lightly golden.
 .
3. Let the cookies cool completely. Once they have cooled, dust the top cookies with confectioners’ sugar, spread the jam on the bottom cookies, and then put your little sandwiches together and you are done! Store the cookies in an air-tight container, they actually get better and softer as they sit for a day or two. (*Note: I converted the recipe from the metric measurements. The original measurements are: 350g all-purpose flour, 250g unsalted butter, 130g granulated sugar, 2 egg yolks.)
.
.
 .
Happy Baking, Everyone!

Simple Iced Gingerbread Man Cookies

Posted on December 1, 2013
Hi Everybody! Happy December and happy first Sunday of Advent! It is terribly cold here and it feels like winter has arrived, now all we need is some snow! I’m so excited to start decorating our home for Christmas; our tree is all set up and waiting to be decorated, the Christmas movies are out ready to be watched, and some Christmas treats have already been baked! Decorating the tree is one of my favorite things to do at Christmas time, and when my husband and I were first married I wanted to get the biggest, most beautiful (real) Christmas tree I could find for our first Christmas together. Being the (very) picky person that I am, we searched for hours in the cold to find the perfect tree and finally found The One, the biggest tree there, with the most perfectly spaced branches and the most wonderful piney Christmas smell. My Christmas mission was complete and it was all perfect, until the tree fell during the night because it was SO big, and half of my precious ornaments broke! Needless to say, we now have a fake tree, but it’s still just as beautiful, and a little safer! Baking Christmas cookies, especially gingerbread cookies, is another one of my favorite traditions, and I wanted to share my first ones of the year with you today! There will be lots more to come, so make sure to come back over the next couple of weeks!
.
SIMPLE ICED GINGERBREAD MAN COOKIES
 .
YOU WILL NEED
COOKIES
Use a homemade gingerbread cookie recipe or use a store bought mix.
ICING
1 cup confectioners’ sugar
2 – 3 tsp milk
2 – 3 tsp light corn syrup
Gel food coloring
 .
DIRECTIONS
First, make your cookies. Once they have cooled, make your icing. You may need to add more liquid to it, depending on your desired consistency of the icing. Once you have your icing, add your food coloring (I used the Wilton gel food colors, they work very well and you only need a little bit of them to get rich colored icing) to get a beige color (I don’t have an exact formula for this color, I usually just experiment and tweak the color until I get what I need). This will be your base color. Then, take out about a quarter of the icing, and use more food coloring to get it darker, this will be for the buttons. Next, using a plastic piping bag with your icing, outline your gingerbread man cookie with the beige icing, then “flood” the inside, and spread it around using a toothpick to help you smooth it out. Wait a couple of minutes for the icing to set, then use another piping bag with the darker icing to make the buttons. This recipe only makes a small amount of icing, so you may need to double it if you are making a big batch of cookies! (Note: You can also substitute more milk or use egg whites instead of the light corn syrup if you don’t want to use it, it just makes the icing more shiny.)
 .
For another Christmas cookie idea, check out my Snowy Tree Sugar Cookies HERE!
Happy Baking, Everyone!

An Early Little Christmas Present…

Posted on October 2, 2013
So the other night, my husband and I were sitting on the couch watching TV and I was looking through the Pottery Barn Christmas ornament collection online, because in my mind, it can never be too early to start looking forward to Christmas! Well, the sweet man that he is, my husband ordered my favorite ornaments for me, and today a package came in the mail with these beautiful London-themed Christmas ornaments! They remind me of my college days of living in London, and I can’t wait to hang them on our Christmas tree this year! I have always loved Christmas ornaments and have lots of special ones; some that used to hang on our tree when I was small, some that my mom and mother-in-law have gotten for me, some that remind me of fun places that we’ve visited, and some very old and special ones  that used to belong to my two grandmothers when they were little girls. I love that each ornament holds a cherished memory, and that I am reminded of all those special times and people every time I see our decorated tree at Christmastime!
.
 .
.

I hope you all have a great rest of your week, thanks for stopping by today and come back again soon!

A New York City Christmas

Posted on December 29, 2012
Hi, Everyone! I wanted to share some pictures of our Christmas with you today! New York City is one of my favorite places at Christmastime. With its beautiful lights and decorations, the big tree at Rockefeller Plaza and festive shop window displays, there’s just no place like it! My husband surprised me with tickets to see the Rockettes’ Christmas Spectacular for Christmas, and I was so excited because I’ve always wanted to see them! It was the 85th anniversary of the show, and it really was spectacular! We had a great day in the city, walking around as it began to snow, going to see the Rockettes at Radio City, going to see the big Christmas tree, walking by all the beautiful and festive window displays, eating some good food and stopping at Magnolia Bakery, and just spending the day together!
;
  DSCN6731
The beautiful Christmas tree at Rockefeller Plaza. Even though I’ve seen it so many times, it’s always just as magical as it is in all the movies!
l
DSCN6720
My husband and I by the tree. It was a freezing cold day, and it started snowing really hard a little while after we took the picture, but it made the day just that much more Christmassy!
m
 DSCN6739
The drummer boy by the Christmas tree.
,
 DSCN6724
By the Christmas tree.
,
 DSCN6728
This is always the only time I ever wish I could skate!
.
 DSCN6732
The beautiful angels that lead to the Christmas tree.
.
 DSCN6737
,DSCN6750
Huge Christmas ornaments
,
 DSCN6754
Eating a cupcake from one of my favorites, Magnolia Bakery.
,
 DSCN6753
Magnolia Bakery deliciousness.
,
DSCN6748
Radio City Music Hall
.
 DSCN6765
The beautiful interior of Radio City. I absolutely loved the Christmas Spectacular show! I loved all the dancing, singing, acting, the 3D additions to the show, and how it told the story of a New York City Christmas! It was one of my favorite Christmas presents this year!
.
 DSCN6744
My husband with one of the giant nutcrackers.
.
DSCN6745
DSCN6701
I always love the creative window displays that department stores come up with at Christmastime! These window displays at Macy’s were some of the most beautiful I have ever seen! All the elements of the displays moved and described Christmas in the city!
.
DSCN6767
The Empire State building lit up in red and green at night!
 ,
I hope you enjoyed the little tour of the city at Christmastime, and hope you enjoyed whatever you did for Christmas too!

Christmas Sweater Gift Tags

Posted on December 20, 2012
Hi, Everyone! If you are in the middle of all your Christmas shopping or haven’t started your gift wrapping and are looking for some ideas, I have a REALLY cute one to share with you today! These are my Christmas sweater gift tags that I made a couple of days ago! Look how beautiful they are!

This is a really cute way to personalize a gift and add a little something extra to boring old wrapping paper! And wouldn’t it be funny if the gift sweater you bought using a Raise coupon was the gift inside? You would be foreshadowing the gift for days before they opened it! Just a fun little gift idea if you haven’t finished shopping yet, just make sure they’re a fan of sweaters before you commit to the plan. For example, if they tend to prefer something like a percolator bong or spoon pipe as a Christmas gift, you might find coal in your sweater!

These little sweater can also be used as a Christmas ornament once you’ve opened your gifts or if putting them on wrapping isn’t your thing. The fun part is that you can make your Christmas sweater look as festive and cute as you want! Here is how you can make one of these gift tags yourself…

.
,
YOU WILL NEED
Felt (color of your choice)
Needle and thread (color of your choice)
Ornament hooks
Polyfill
Gluegun
.
.
DIRECTIONS
.
1. First, make your sweater stencil on a piece of cardstock, by drawing out your sweater shape in your desired size. Cut it out, then cut out two identical sweater shapes out of some felt.
,
2. Next, using the colored thread, decorate the top sweater piece with whatever design you come up with! Using hot glue, stick the top and bottom sweater pieces together by applying hot glue to the edges little by little, stuffing the sweater with polyfill as you go along (leave the neckline open for now, don’t apply glue to it yet).
,
3. Make a little hanger out of an ornament hook, place it inside the sweater and secure it with some hot glue. Place hot glue along the neckline part, too. And you’re all done!
m

Happy Christmas Crafting, Everyone!

Back to top