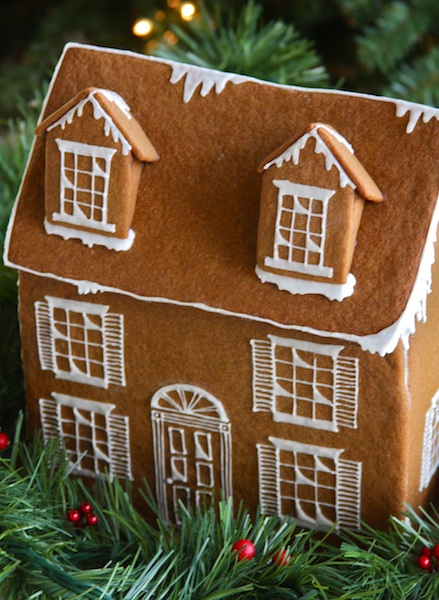
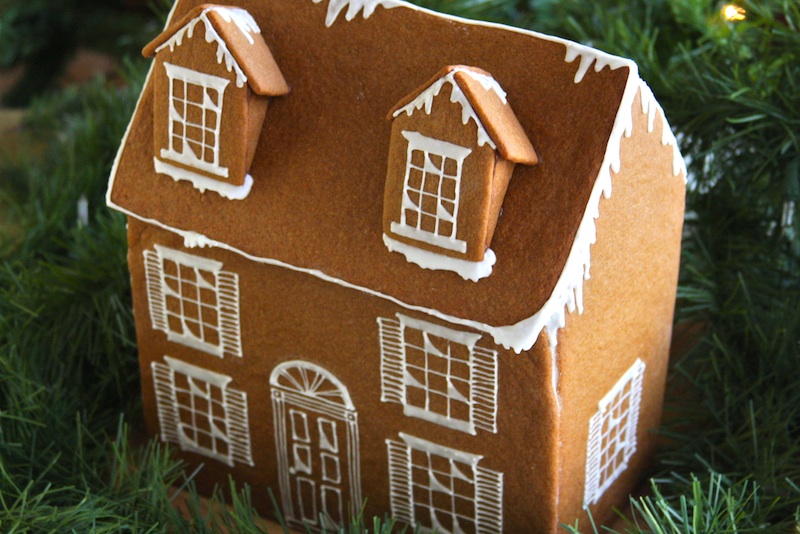
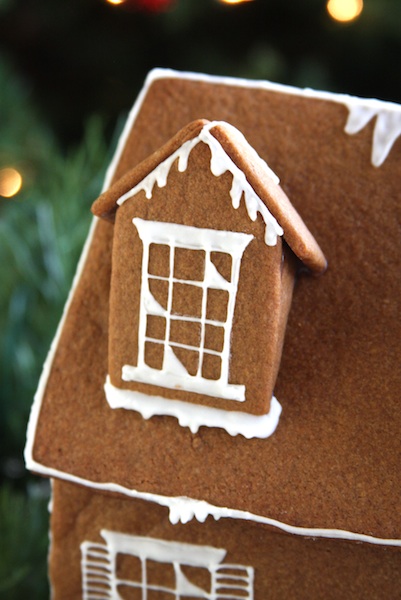
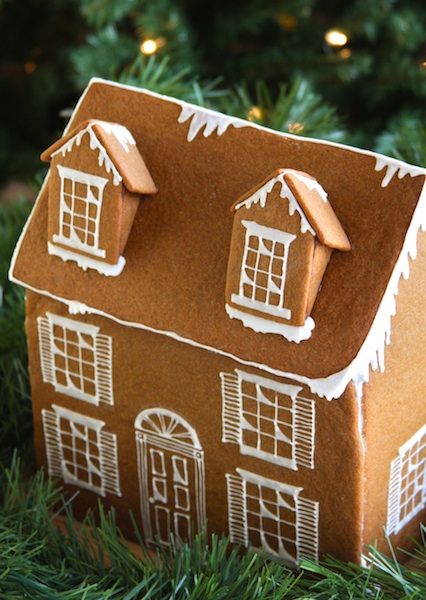
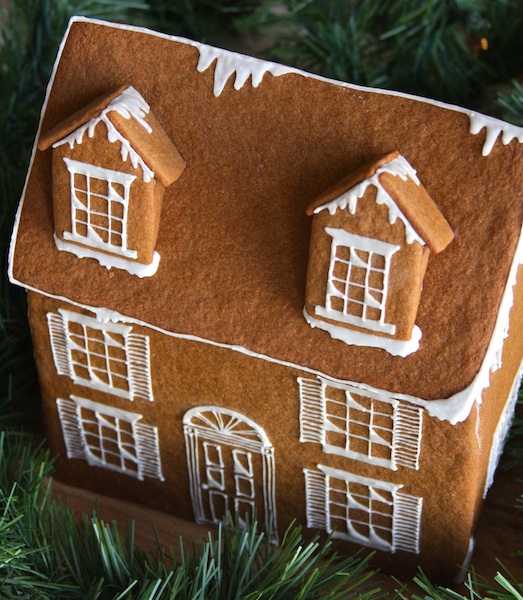
Hi Everyone! It’s another cold, gray day here, but it was so pretty earlier today as it started to snow and everything was covered in a delicate layer of sparkly white snow! I’m so excited to share this year’s Gingerbread House with you today. This is only the third gingerbread house I’ve ever made, but making one has become one of my favorite Christmas traditions. A friend of mine from church taught me how to make one a couple of Christmases ago, and I’ve made one every Christmas since! Making a gingerbread house is a really fun and slightly nerve-wracking process (especially if you are a perfectionist like I am, and if things start to fall apart as you try to attach the roof…..), it’s a lot harder to do than it looks! But the good thing is that all the cracks, holes and imperfections can be hidden with one magical ingredient…. icing! Nobody needs to know what’s hiding under the “snow” (wink, wink)! Here’s how I made my gingerbread house…
.
.
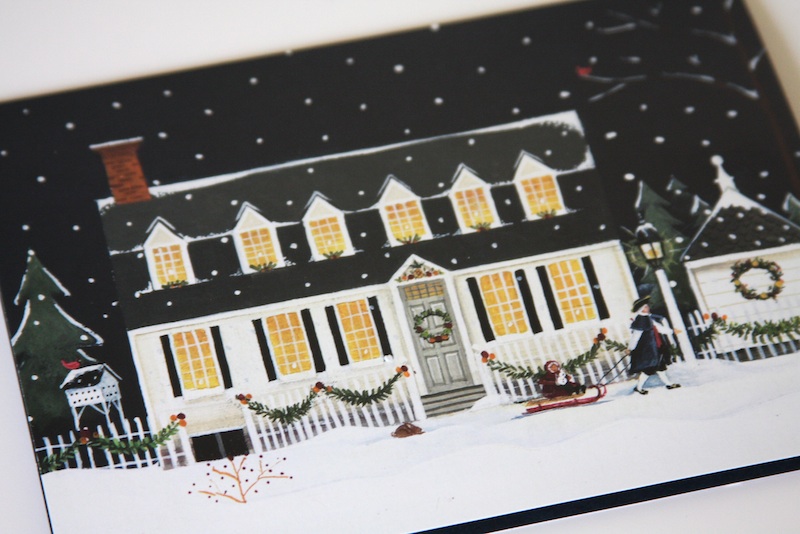
My gingerbread house was inspired by this Christmas card from Colonial Williamsburg, and all the beautiful homes there! We spent a weekend there with my husband’s grandparents last spring (you can read more about our trip HERE), and I fell in love with all the little cottages and colonial houses! I can just imagine how beautiful it must look at Christmastime! So when I started planning my gingerbread house, I decided to make it into a little colonial cottage (or at least that was the plan!)
.
.
What I did first, was draw a couple different gingerbread house designs to decide exactly what I wanted it to look like. Then, I worked out the measurements (let’s just say, VERY rough measurements! There is a reason why I am not an architect!) and made my templates out of cardstock. I made my dough the night before (since we never eat the gingerbread house and because I wanted to save some time, I used a store-bought gingerbread cookie mix – about 1 1/2 packets of cookie mix were enough for my gingerbread house) and once I had my templates, I rolled the dough out pretty thin, and cut out the shapes using the templates (TIP: use a pizza cutter to do this instead of a knife! So much easier!) I then baked the pieces on parchment paper lined baking sheets, at 350 deg F (the baking time varied for the smaller/larger pieces).
.
.
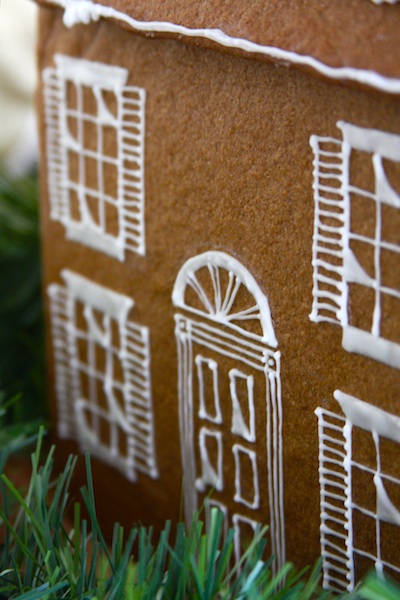
I let all the baked pieces sit out overnight (you could of course just let them cool and then start icing them instead) and made my icing the next morning, when I was ready to decorate them! I used THIS recipe and it worked pretty well (I did add a little extra confectioners’ sugar to get the consistency I wanted. I wanted the icing to be thick enough where it wasn’t going to be runny, but to still be able to pipe it easily – you really just need to experiment with this). I like to decorate the pieces first, and then assemble the house, so I first did that. I actually drew on the windows and everything using a white pencil (my sewing/fabric pencil) so that it would make it easier for me to pipe on the icing (if you’re not planning on eating the gingerbread house, this technique makes it SO much easier). I piped all the decorations on the pieces except for all the “dripping snow” and roof outline. Next came the (not so) fun part…
.
.
… putting the house together! This is always a nerve-wracking moment, because I always worry that it’s all going to fall apart, and all my icing is going to be ruined! You can either assemble the house directly on the platter/plate or whatever else you are going to display it on (that way you don’t have to worry about it falling apart when you move it!), or on a wooden board like I did. To put the house together, do it piece by piece, building the base first, then adding on the roof (and the little attic windows). You might want to use some heavy cans or whatever other heavy object you can find to stand next to the house on all sides so they have some support while the icing is drying.
.
.
Once everything is assembled and the icing has dried, pipe on all the snow! I just did some along the top and bottom of the roof on the front and the sides of the house, you can add as much or as little as you want. You could also sprinkle it with sparkling sugar sprinkles (is that what they’re called?!) or even confectioners’ sugar (this is the part where you cover up all the imperfections, all the cracks and fill in all the holes). Then, once everything has dried completely, you can decorate the plate/tray the house is on with some greenery or whatever other decorations you choose!
.
.
Happy Baking, Everyone!





Absolutely adorable. Catherine xo
Thank you, Catherine! It was quite the labor of love, as lots of big baking/decorating projects are 🙂 Have a great weekend!
Gorgeous house!
Thank you so much, Beth!
I haven’t made a gingerbread house in years. I usually make 15 to 20 different cookies for Christmas, so I don’t have much free time.
Annamaria
That’s a lot of cookies!
Absolutely stellar!
Thank you so much!
I positively ADORE your gingerbread house! It is so gorgeous! I especially love the windows Great piping too. 🙂 Merry Christmas.
Ohh thank you so much for the kind comment on my gingerbread house, Sue! It was a fun project to do 🙂 Merry Christmas to you too!
This is the best Gingerbread house I have seen! I love all the fine details, well done !
Thank you so much, Gilly! I so appreciate your sweet comment 🙂 It was a fun Christmas project!
so pretty!
b
Thank you so much!
I am in awe!! It’s so beautiful
Thank you so much, Heather!
Your Gingerbread House looks awesome! Thanks so much for sharing with Full Plate Thursday and hope you are having a great week.
Come Back Soon!
Miz Helen
Thank you so much!
Beautiful gingerbread house and great tutorial tio!
Thank you so much for the sweet comment 🙂 It was such a fun Christmas project to work on, it’s fun to make a different gingerbread house every year 🙂
This is absolutely adorable! Great job with all of that detail work. Pinning!