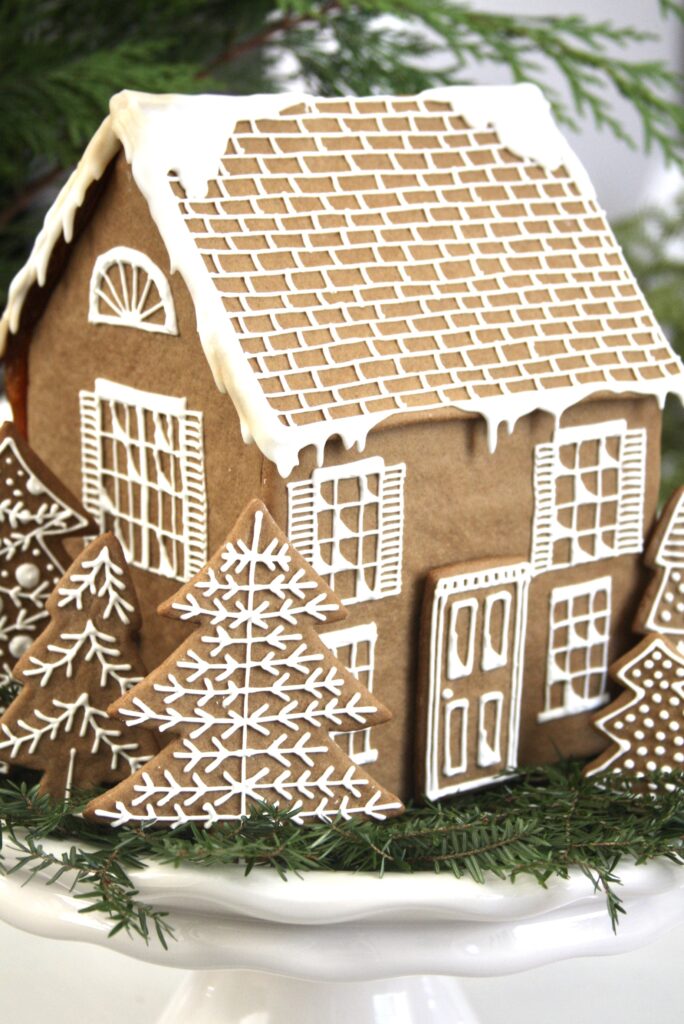
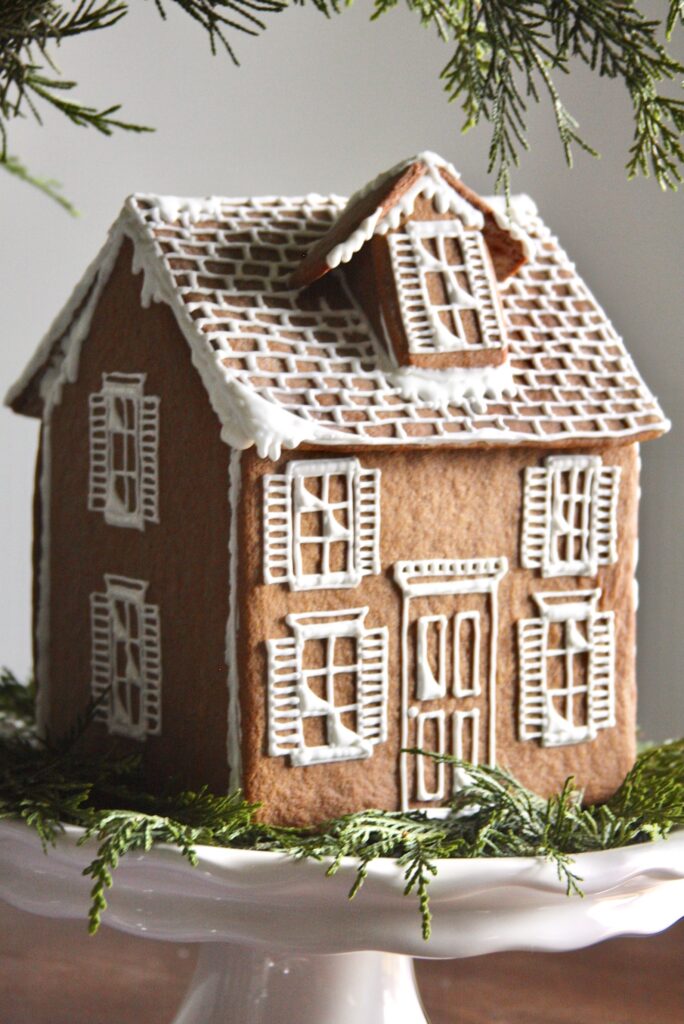
If you have ever made a gingerbread house from scratch, you know that it’s a labor of love. Between making the dough and the icing, cutting out each piece using a stencil, and then baking, decorating and glueing it all together, it takes a little bit of time to make, but it is so worth it in the end! It’s one of my favorite Christmas traditions and if you’ve never made a gingerbread house before, you should give it a try this Christmas! To me, there isn’t a more festive or Christmassy scent than gingerbread; that sweet and spiced aroma takes me right back to my grandparents’ kitchen table, baking gingerbread cookies, and impatiently waiting for the timer to ring so that I could see the little beauties I had created come out of the oven. As soon as they were done, they were quickly whisked away on a large wooden board to cool and then beautifully decorated. Don’t you wish you could bottle up that Christmas magic? There are a couple of tips and tricks that I’ve learned while making gingerbread houses over the last few years, and I would love to know any that you may have!
HOW TO MAKE A HOMEMADE GINGERBREAD HOUSE FROM SCRATCH
HOW TO MAKE GINGERBREAD COOKIE DOUGH
Since we never actually eat the gingerbread house, I don’t really care about the taste of it as much. I have used a store-bought gingerbread cookie mix in the past to speed things up and it worked just fine! This time, I used this recipe and it was great – I made it the night before, wrapped it in plastic wrap and chilled it in the fridge overnight, then let it come to room temperature before rolling it out.
HOW TO MAKE GINGERBREAD HOUSE STENCILS / TEMPLATES
I made my own stencils for this and all my gingerbread houses, but you can find plenty of templates online. Roll out your dough to about a 1/4″ to 1/8″ thickness (avoid using too much flour while rolling out the dough or brush it off the top of the cookies so your cookie can brown nicely while baking – if it comes out with flour residue after baking, simply brush it off with a soft pastry brush or paper towel). Cut out your shapes using a knife, and bake similar sized shapes together to ensure an even bake. Let cool on cooling racks COMPLETELY before icing.
GINGERBREAD HOUSE ICING / HOW TO DECORATE YOUR HOUSE
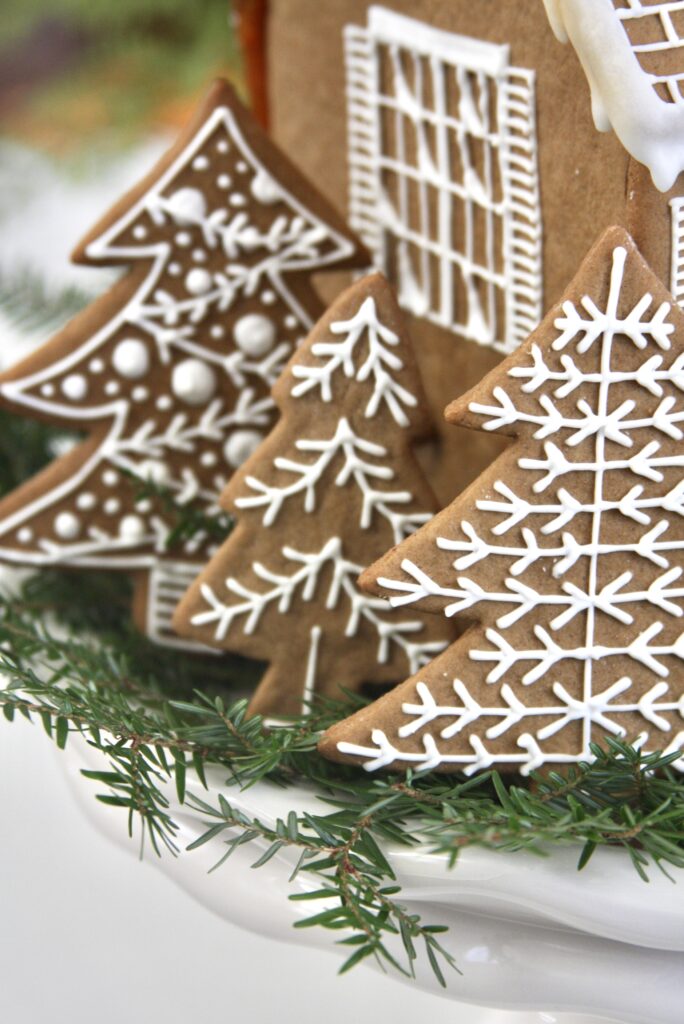
I have tried so many different icing recipes in the past, and this one works really well. You may need to add a little more confectioners’ sugar to give you the consistency you’re looking for – you want the icing to be thick enough to hold it’s shape on the cookies, but not too thick where you can’t pipe it. My #1 tip is to decorate each side of your gingerbread house BEFORE you glue it together, it is so much easier! I always decorate each “wall”, let it dry completely before glueing the house together, and then use more icing to pipe on the “snow” and “icicles” hanging off the roof. I have also made my icing in advance in the past, and let it sit in the fridge overnight (in a ziplock bag or airtight container) and it was fine. The icing is actually easier to work with when it’s a little colder.
HOW TO GLUE YOUR GINGERBREAD HOUSE TOGETHER
This is the stressful part!!! There are a couple different ways that you can do this, but most importantly, make sure that the icing on your gingerbread has completely dried before you start putting your house together. This year, I used this caramel syrup for the first time, and it was the best kind of “glue” I’ve used. (*Note – I used the full amount of sugar but only about 1 TBS of water. I burned my first batch of the caramel syrup and fully felt like I was on The Great British Bake Off as I quickly made another batch! The caramel goes from silky smooth to BURNT very quickly, so watch it carefully!) You have to work VERY QUICKLY once you have your caramel, because it hardens so fast!
I have also used the icing itself as glue in the past and it worked fine, but it can be messy and it takes a while to dry. (I have also used a hot glue gun in the past to do this – obviously don’t do this if you’re going to eat the gingerbread! It worked ok, but the grease in the cookies can make it hard for the glue to stay on.)
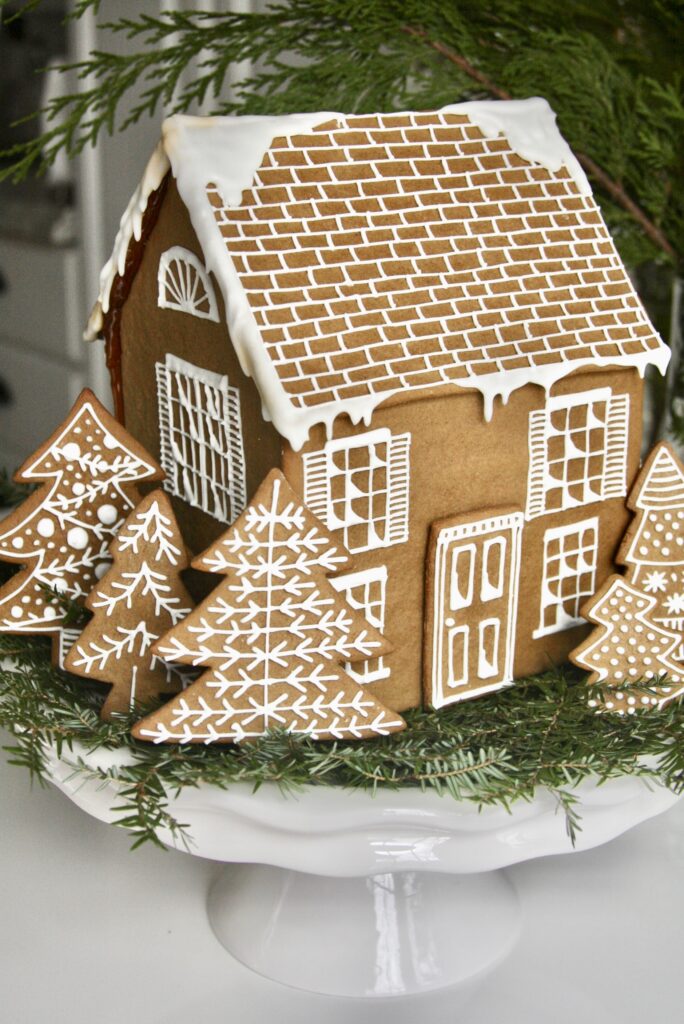
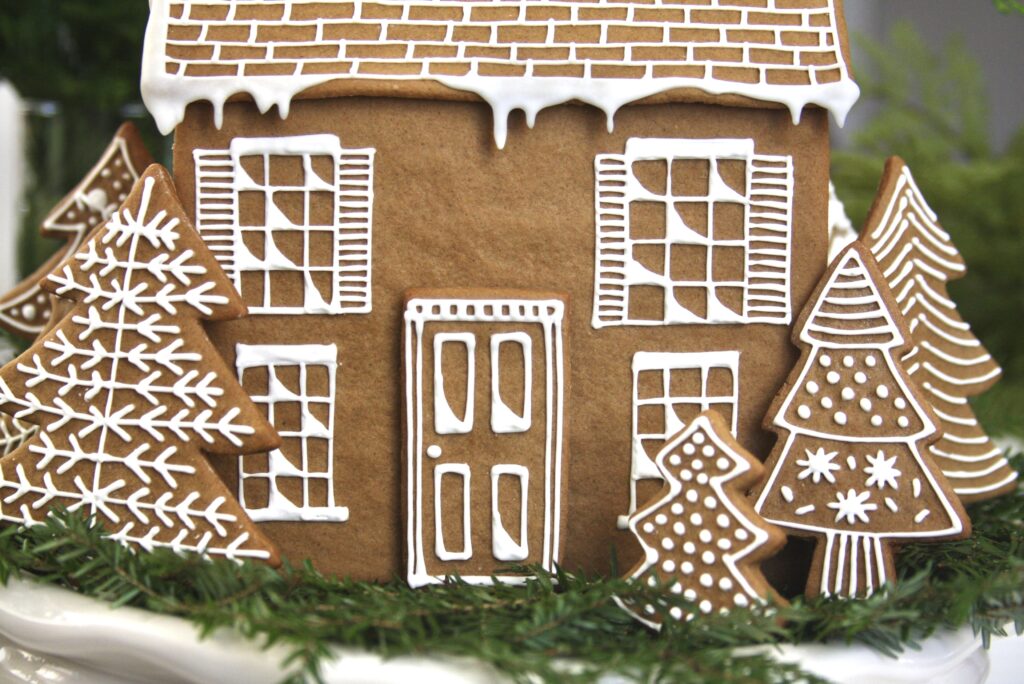
For some of my gingerbread houses from the past, check out THIS (still my favorite to date!) and THIS post!
I hope you have a wonderful December… it may be a different holiday season this year, but I hope that you find little things that bring you joy and brighten up the end of this often miserable and difficult year! Thanks for stopping by today!



[…] family by building and decorating gingerbread houses. Challenge your baking skills by making it from scratch or have just as much fun buying a gingerbread house […]
[…] Gingerbread House by A Homemade Living – click here for recipe and tips […]
[…] Gingerbread house from A Homemade Living – click here for recipes and tips […]