Good morning Everyone! I hope you’ve all had a good start to your weekend! It’s a beautiful, cool morning here in Maryland, there’s a breeze coming in through the open windows and there isn’t a cloud in the sky; it feels like fall is knocking on the door! As the summer begins to come to an end and September is just around the corner, I’m sharing one of my favorite comfort foods, perfect for fall, with you today! This beef stew is one of my favorites! It has the most wonderful flavor and is filled with tender beef and lots of vegetables. It’s the perfect dinner for a chilly night, and it’ll warm you up instantly! I always feel like fall is the season when everything slows down in the kitchen and when food has that wonderful, deep and complex flavor that can only come from slow-cooking it, and this is one of those meals! It takes a little while to cook, but it fills your kitchen with the most wonderful, homey aroma and tastes like a spoonful of cozy, delicious comfort!
.
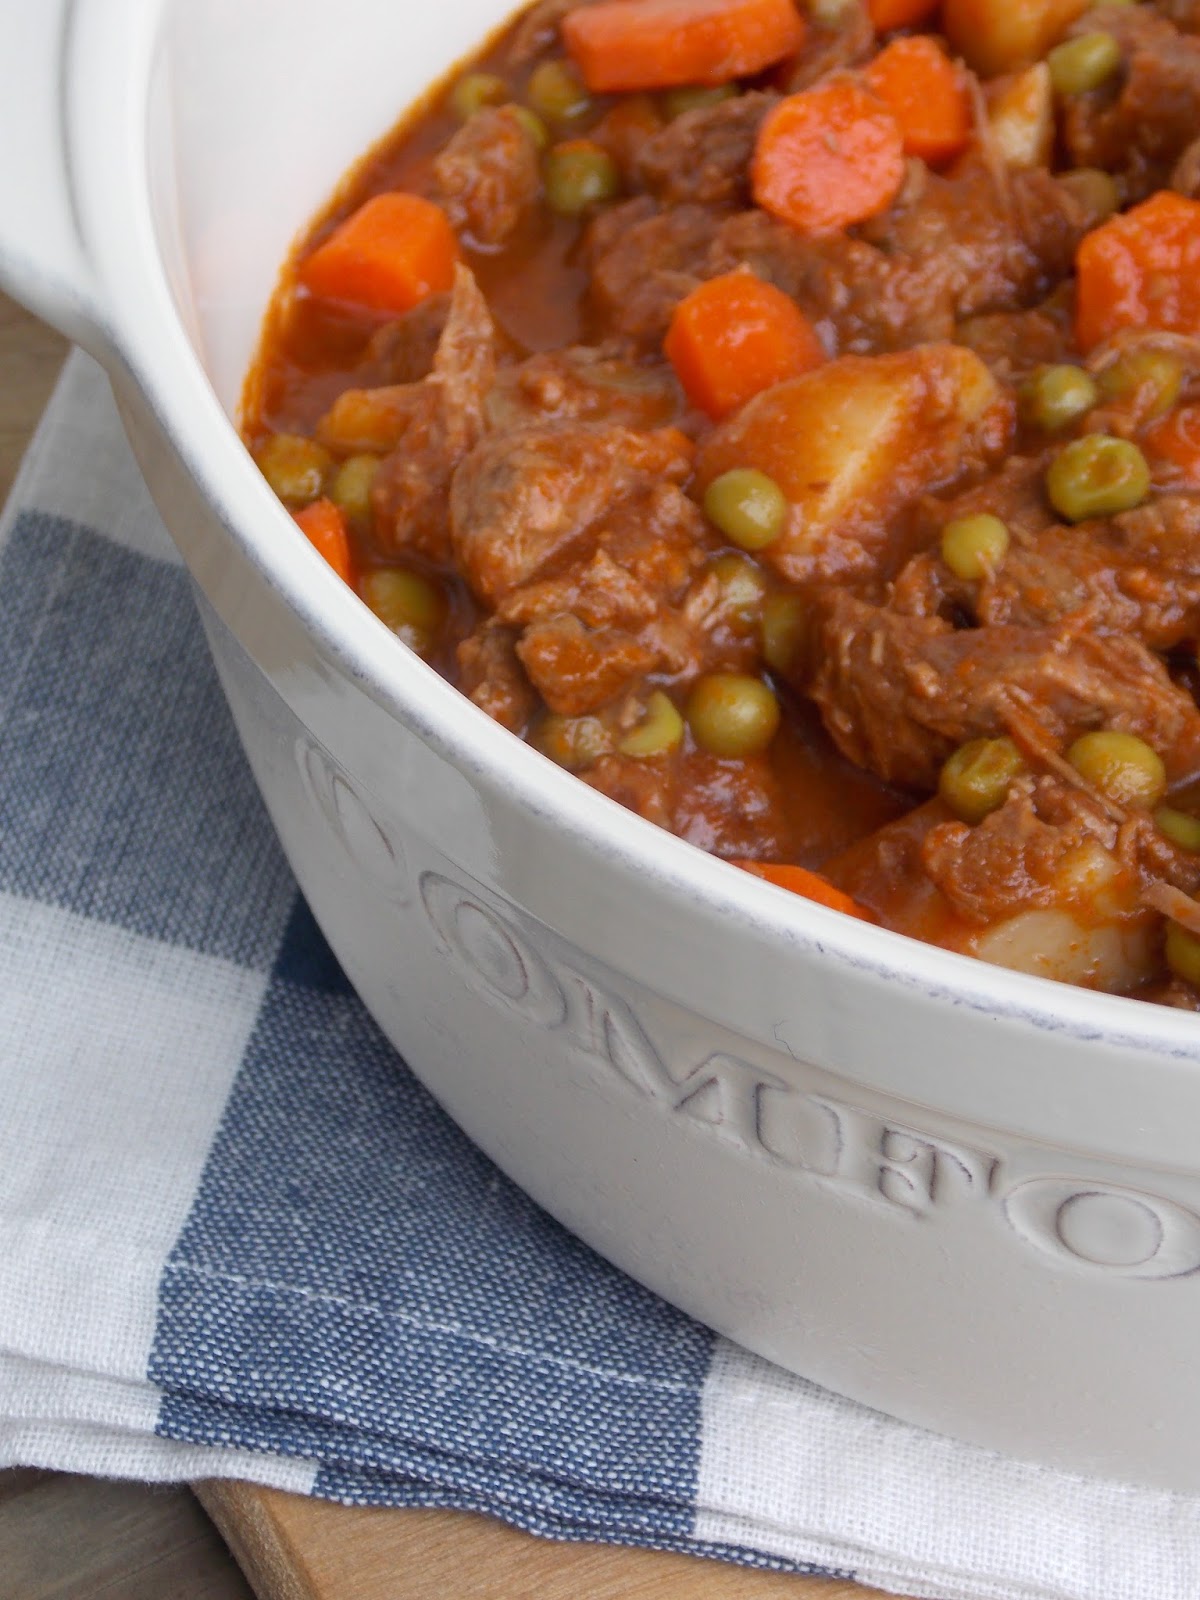
HEARTY BEEF STEW
(Adapted from The Pioneer Woman)
*Serves 6*
.
YOU WILL NEED
2 lbs beef stew meat
4oz tomato paste
2 tbs butter
1 tbs olive oil
Worcestershire sauce
1 tsp granulated sugar
1 medium sized onion, diced
2 cloves garlic, minced
4 medium carrots, diced
2 medium potatoes, cut into chunks
1/4 cup frozen peas
5 cups low-sodium beef broth
Salt & Pepper to season
.
DIRECTIONS
1. First, prepare your meat by cutting it into chunks and making sure that it’s dry so it browns well (just use a paper towel). Season it well with salt and pepper. Heat the butter and olive oil in a large pot, then add in the meat and cook it until it has browned on all sides. Remove it from the pot and set it aside (you may need to cook the meat in two batches so it browns well and the pot isn’t too crowded).
.
2. Cook the diced onion and minced garlic in the same pot, just until the onion softens, then add in the tomato paste and stir it in well (I used a whisk for this part), then let cook for a minute or two. Still stirring, add in 4 cups of the beef broth (reserve the remaining cup for later, in case you need to thin out the stew), then add in sugar and a dash or two of Worcestershire sauce. Stir well and return the beef and all its juices back into the pot, then cover and reduce the heat to low and just let the stew simmer for about an hour and a half, stirring it occasionally.
/
3. In the meantime, prepare your vegetables. Peel and dice your carrots and potatoes (you can omit the potatoes and instead serve the stew with mashed potatoes). After the stew has been cooking for about an hour and a half, add in the carrots, potatoes and frozen peas, and let the stew cook for another half our, or until the meat and the vegetables are soft. If the stew is getting too thick, add some more beef broth at this point too, and check the seasoning. Serve hot with some crusty white bread!
.
Happy Cooking, Everyone!