Hello Everyone! It’s hard to believe that the summer is coming to an end! I hope you’ve all enjoyed your summer, that you’ve had some time to relax and have fun, and that you’ve made lots of new memories! We’ve had a busy but great one, filled with lots of travel (and jet lag), and so many new experiences and memories. We recently spent a week in Scotland, and I wanted to share some pictures of our day in Edinburgh with you today!
.

Edinburgh is a beautiful city with so much ancient history and lots of charming old streets and squares. At the top is Edinburgh Castle, which overlooks the city. This is one of the views from the castle!
.

I was pretty excited to be wearing a scarf and a jacket in the middle of the summer! I am not a fan of the heat and the humidity that the summer brings with it, so I was loving the cool temperatures and even the occasional rain showers!
.

.

Bagpipes & Tartan
.

Everything was so beautifully green.
.


.

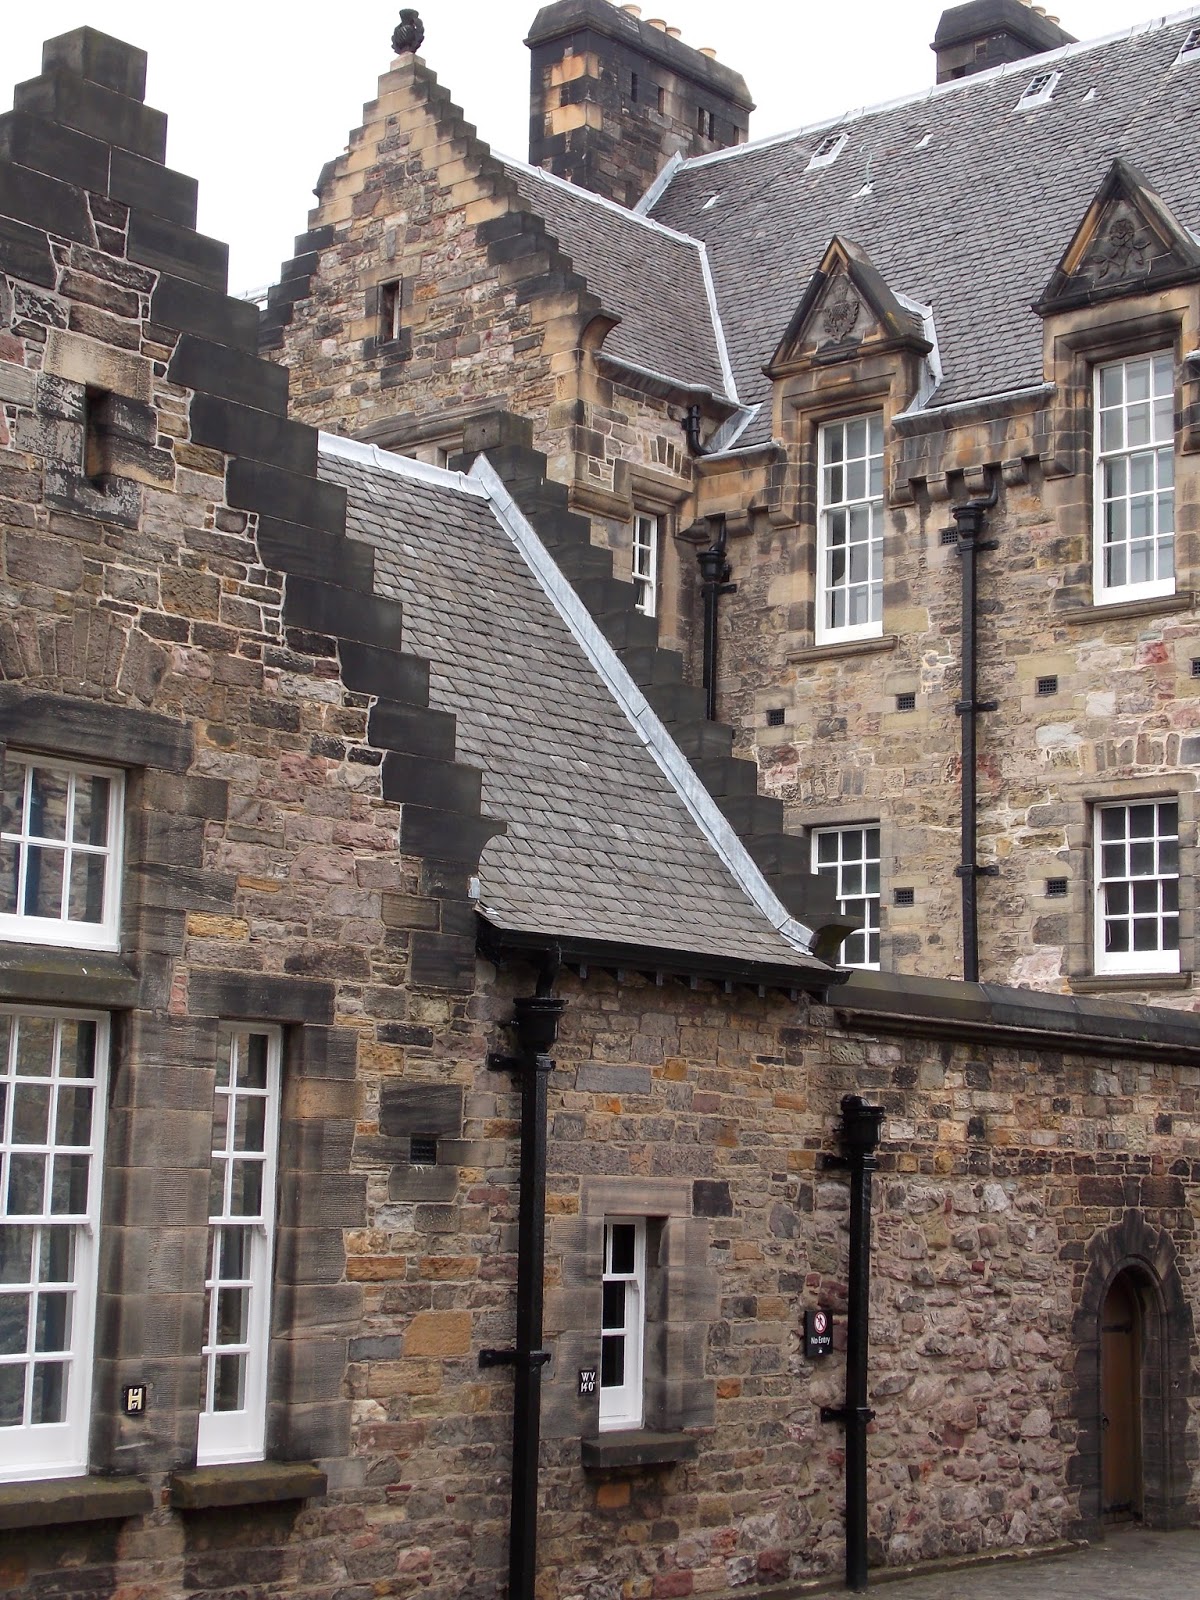
I loved this old gate!
.


Scottish rock candy (left) and A Scottish Recipes dish towel (right)!
.

Fish & Chips! We didn’t actually have this in Edinburgh, but I wanted to include this here too, because it was so so good! With all the grease that it contained, it was a heart attack waiting to happen, but it was oh so delicious!
.

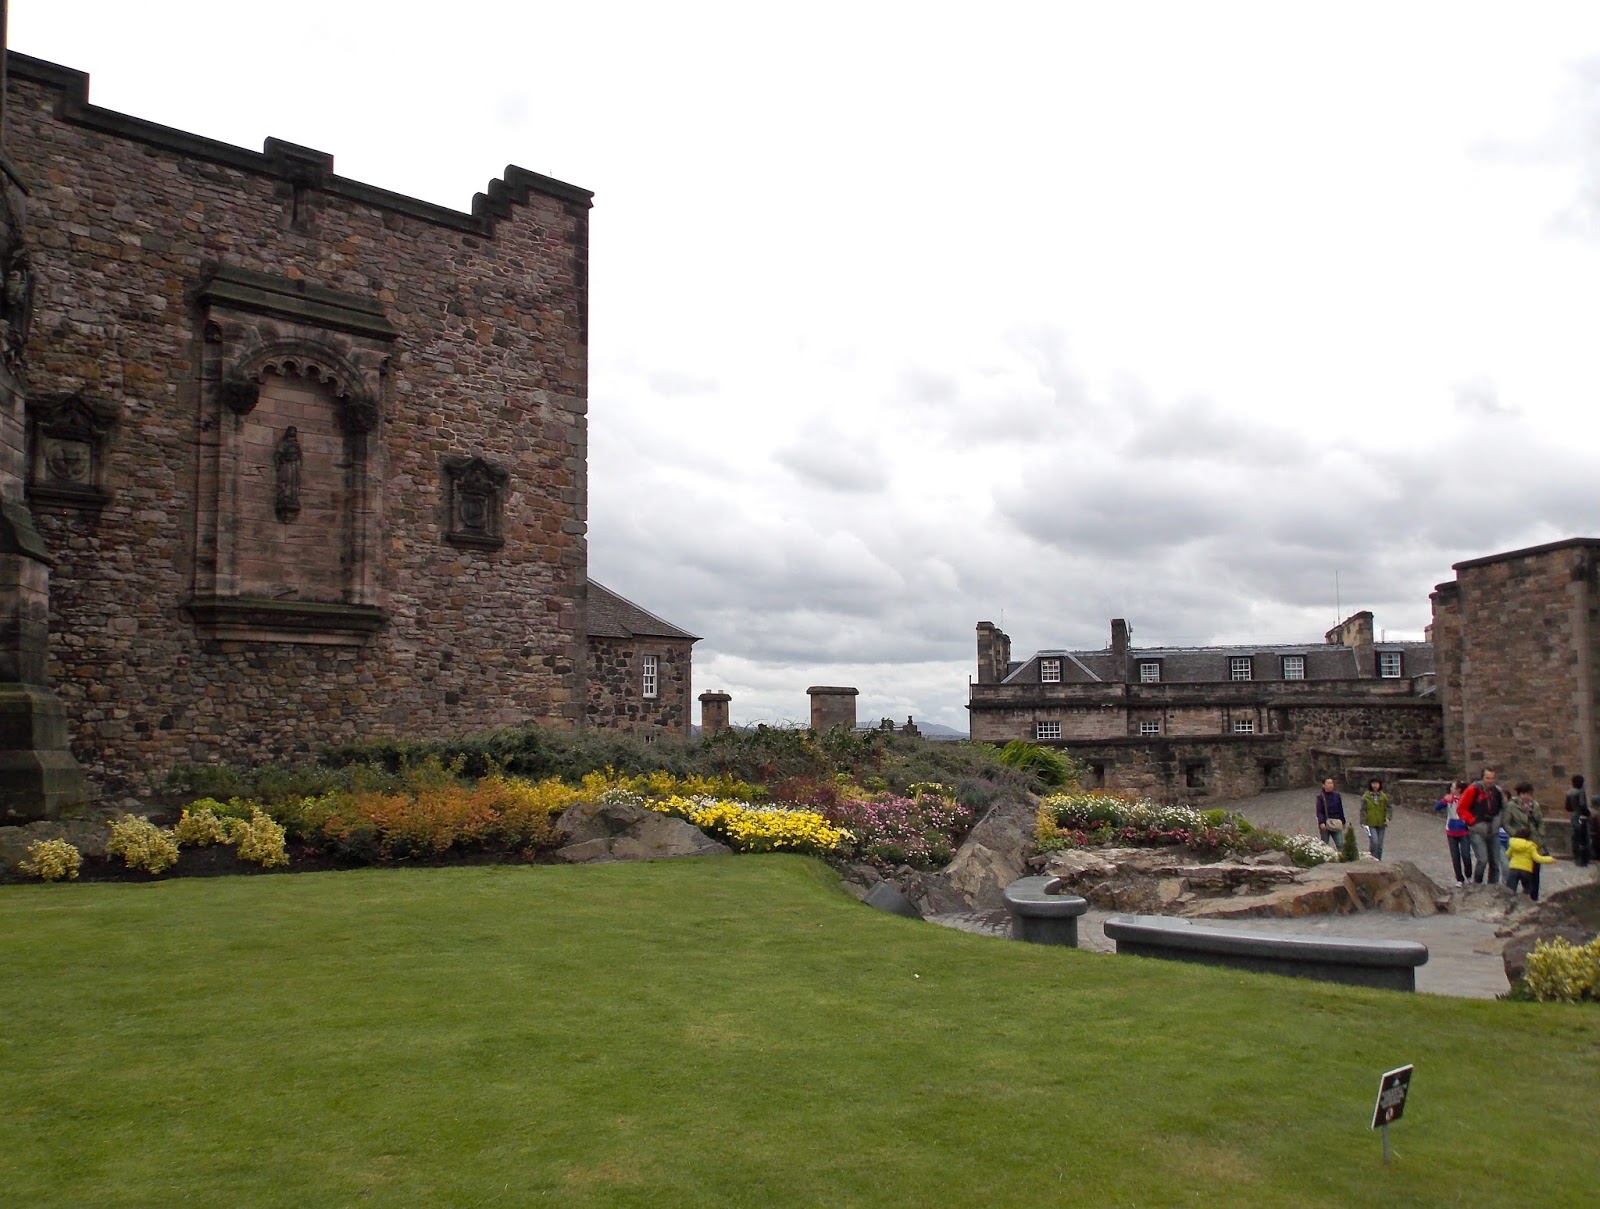
Beautiful gardens in the city
.


The day that we were here happened to be one one of the days that the Fringe Festival was on in the city! There were lots of street performers and vendors out, and it was so much fun watching them all!
.

Traditional Scottish tartan blankets
.


More tartan!
.

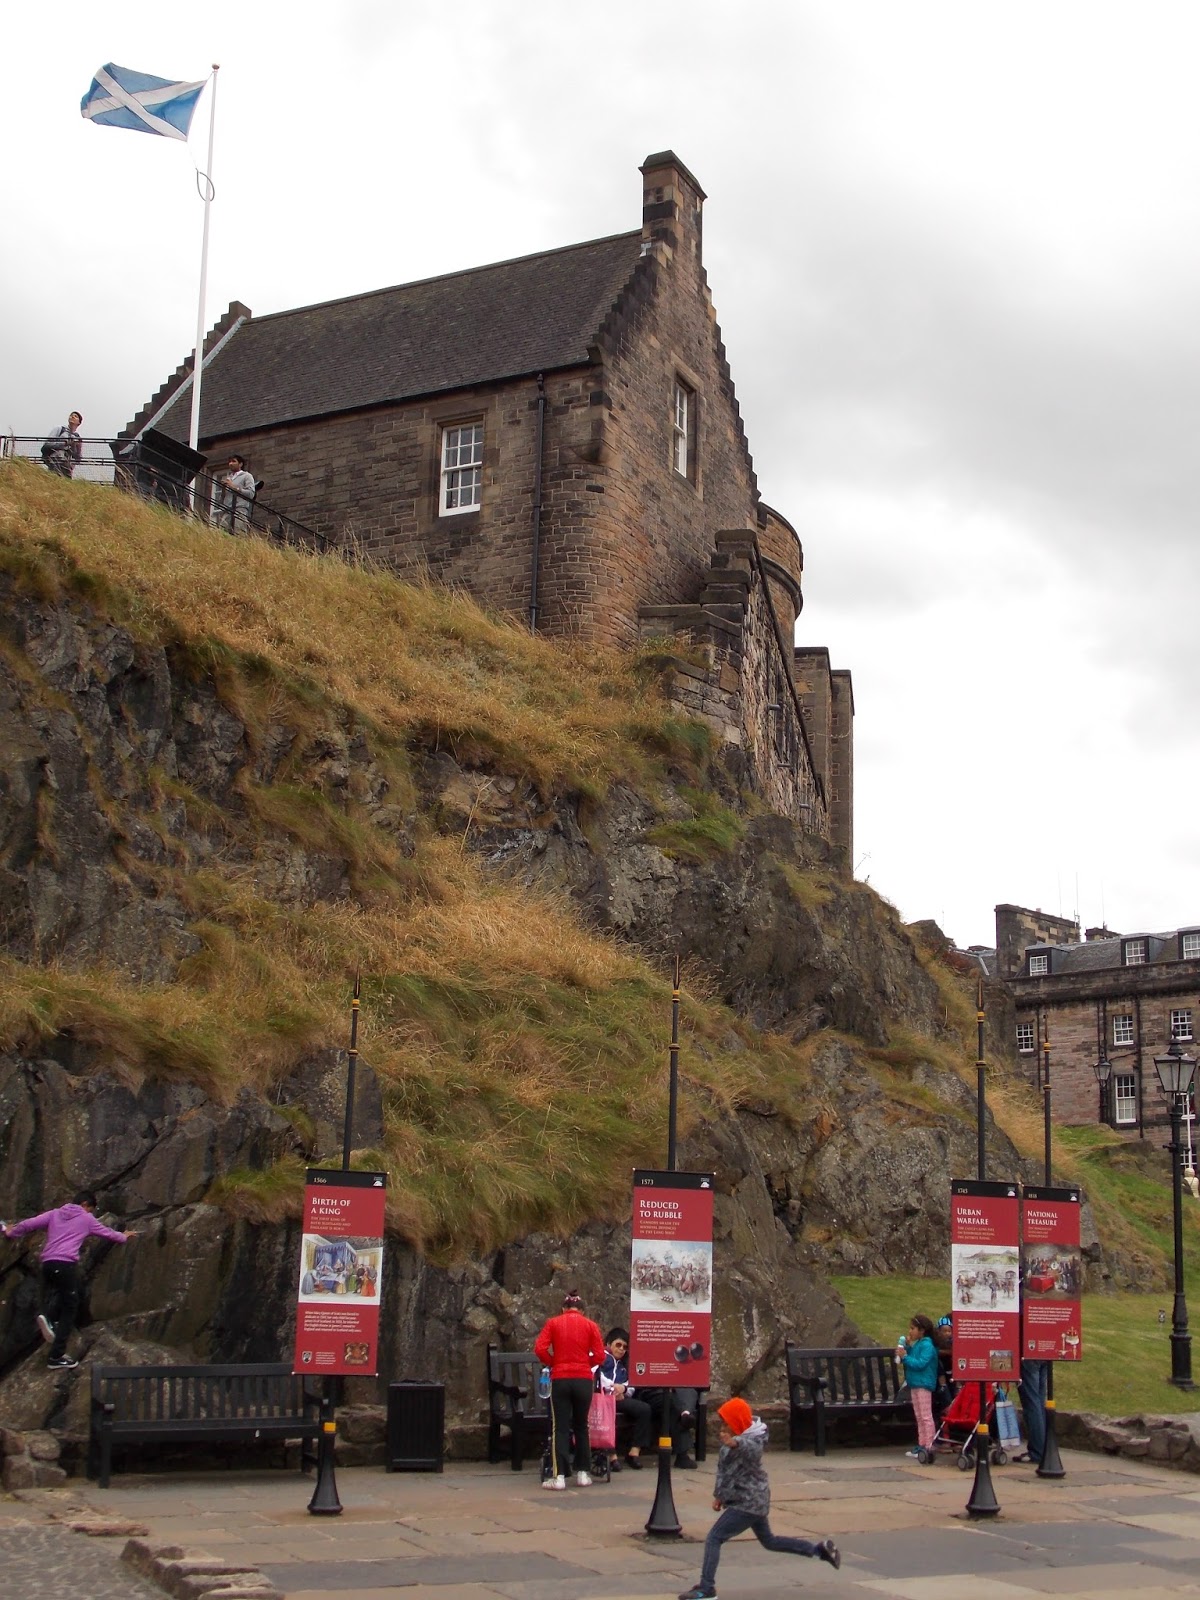
Edinburgh Castle
.

The interior courtyard of the castle
.

.

.

.


Cemetery for soldiers’ dogs (left) and St. Margaret’s Chapel (right). This little chapel was incredible, it was a tiny little room with just a couple of places to sit, but it was so peaceful and serene. It is also the oldest building in both the castle and in the city, and it’s hard to believe it’s been standing there since the 12th century!
.
.
You really need at least half a day to explore the whole castle, but it is so worth seeing at least a little bit of it! Besides seeing the Scottish crown jewels or some of the interiors of where Mary Queen of Scots lived, you get to see some absolutely beautiful views of the city!
.

I feel like we’ve been in a constant state of jet lag these past couple of weeks which has made sleeping pretty difficult, so as soon as I saw this tea, I had to get it! It’s so good, and I managed to stay asleep until 5am… !!!
.
This was such a fun trip, and I loved being able to visit this beautiful old city! If you are ever in Scotland, it is definitely worth a visit! This was our last trip of the summer, so it’s time to put those suitcases away and get ready for the next season…. I can’t wait for fall to come now, after the chilly weather in Scotland I am so ready for it! I hope you are all having a wonderful week, and have a great rest of the summer!
.
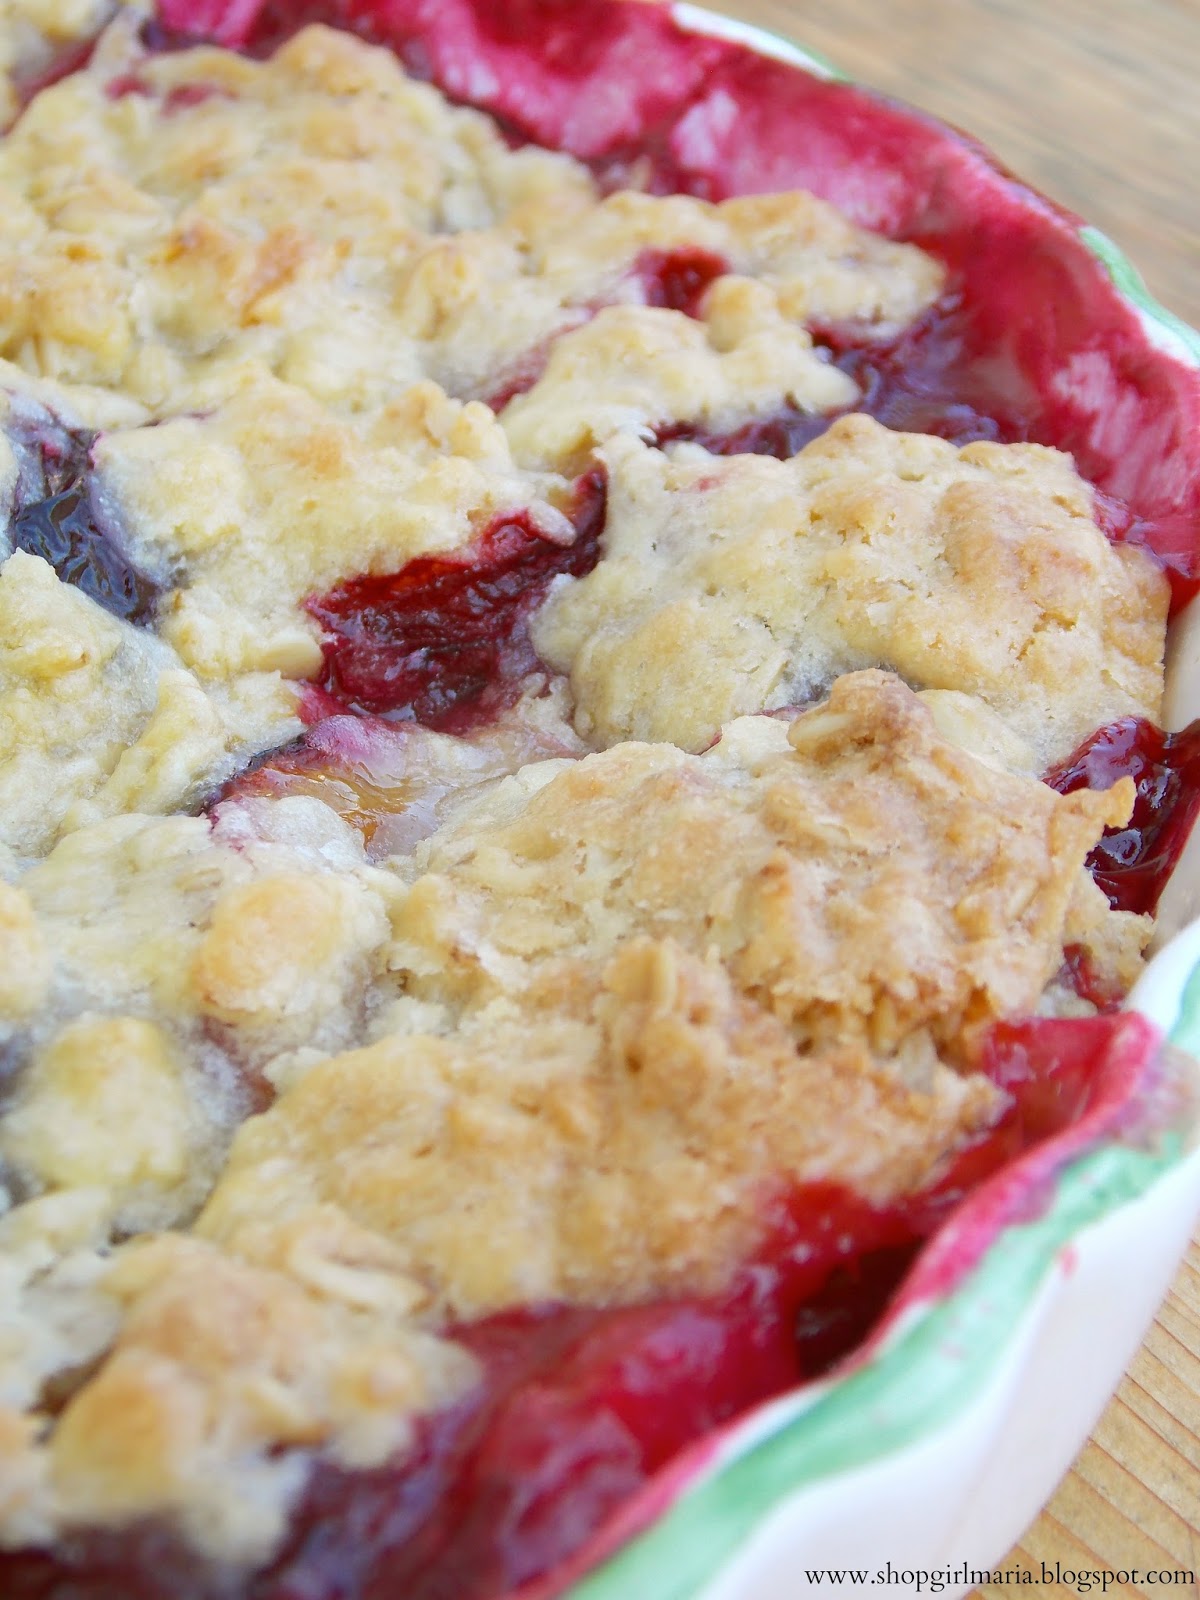
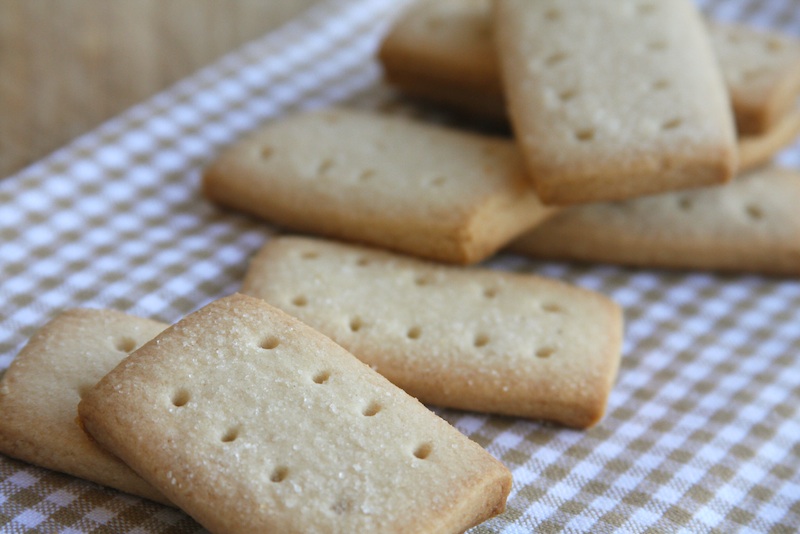
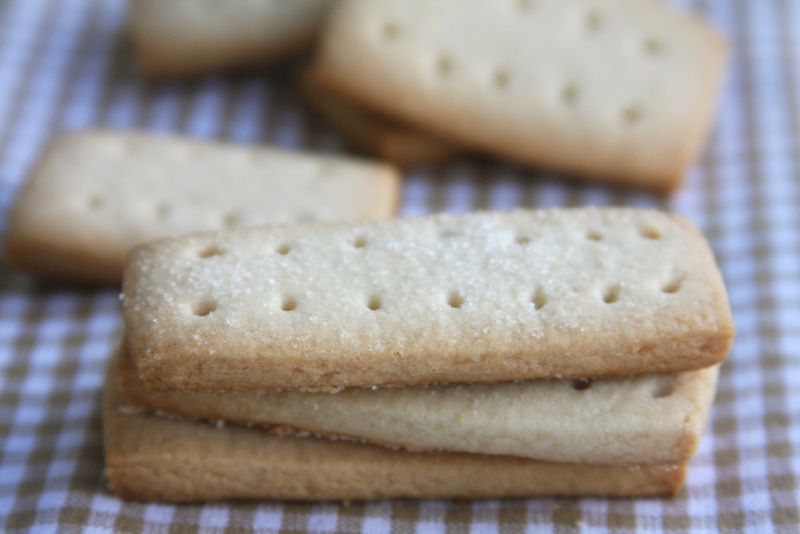
PS. I couldn’t resist re-sharing this Scottish treat with you…. I need to make some more shortbread soon!

Get the recipe HERE!