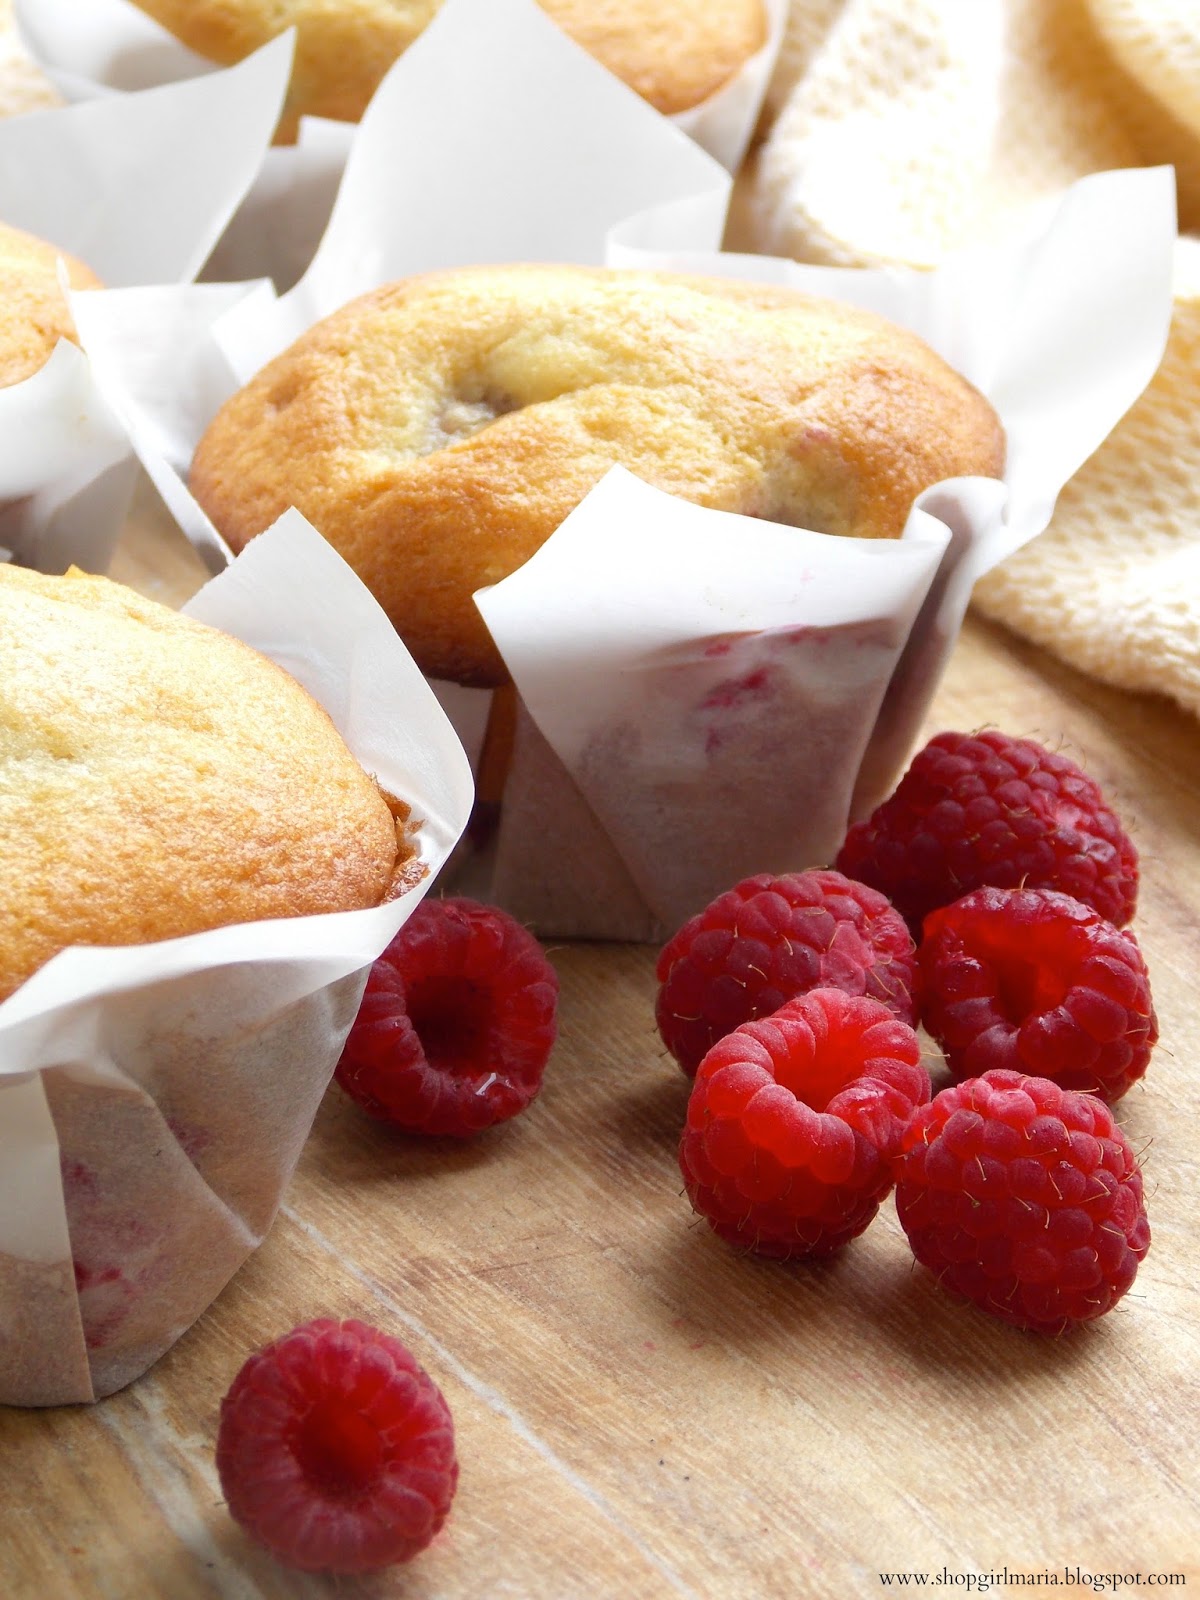
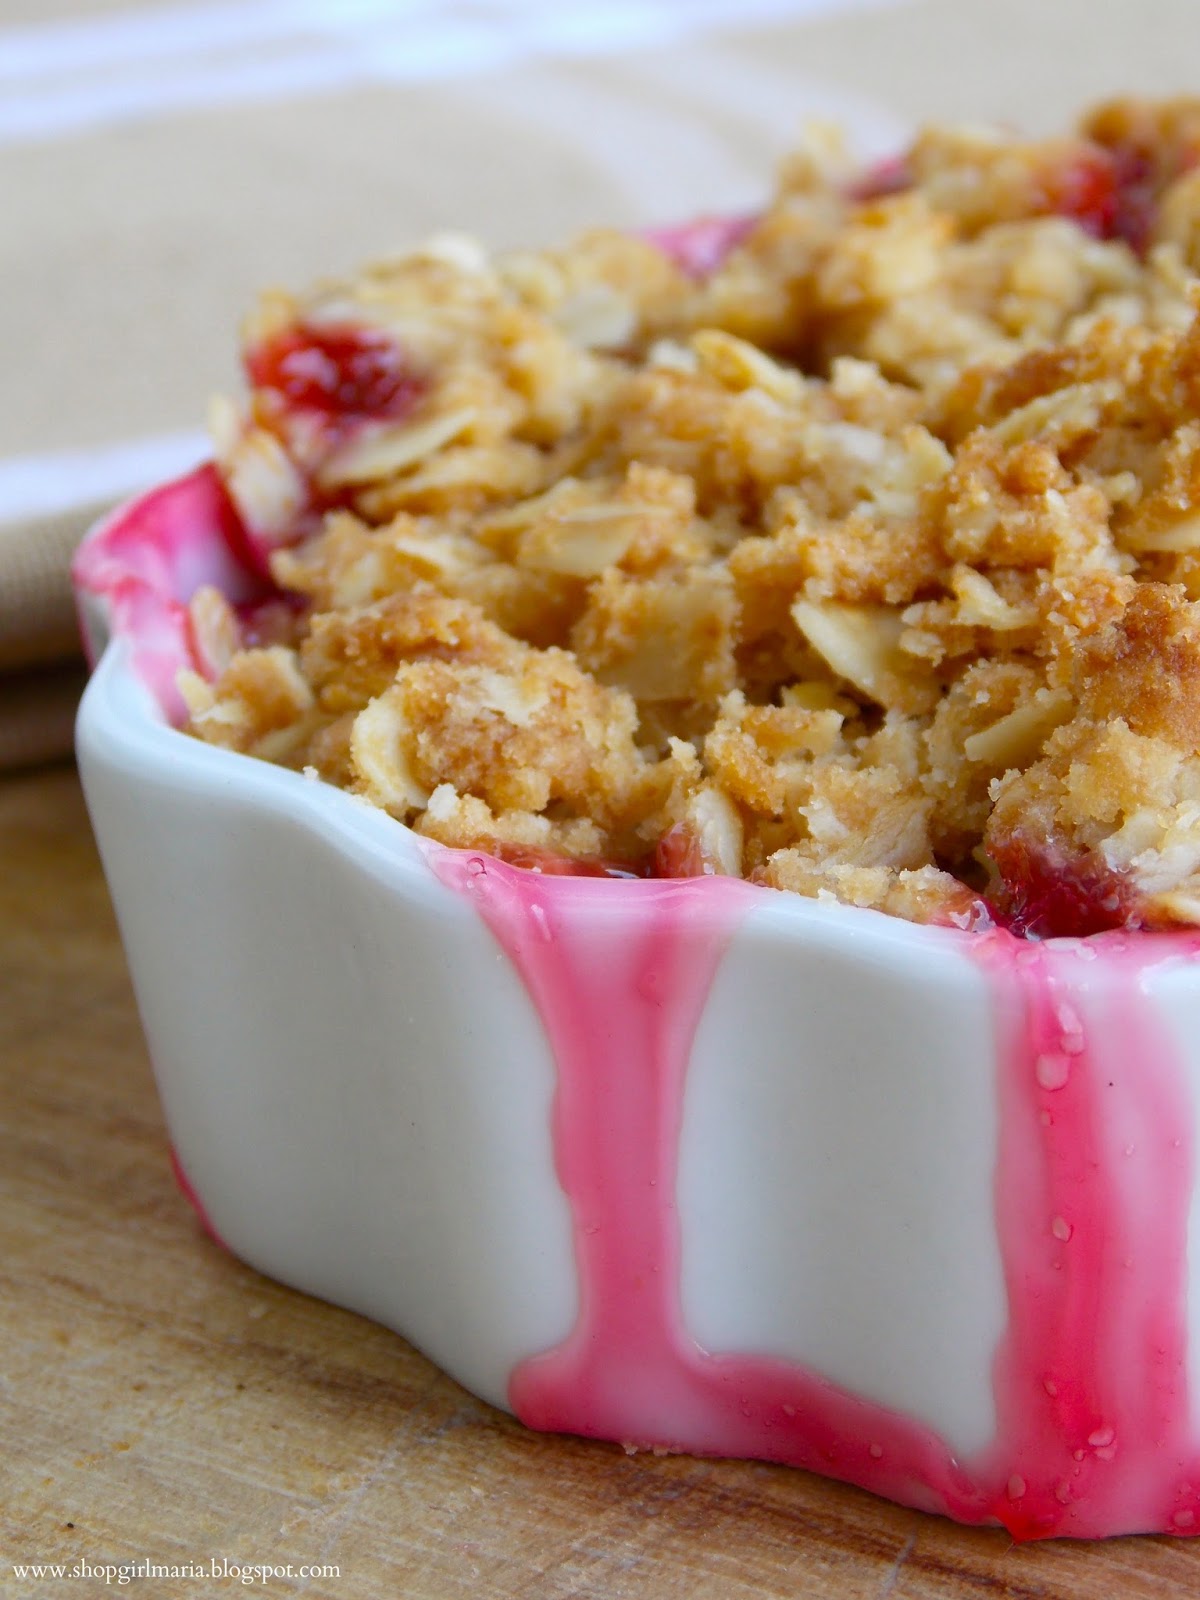
Hi, Everybody! I hope you are all having a good week and enjoying some June sunshine! One of my favorite things about this time of year is all the seasonal fruit that fills the grocery stores and farmer’s markets. I love that sweet, delicious smell of fresh peaches and strawberries, and the beautifully vibrant colors of all the fruits. One of my favorites of the season is rhubarb. I love the fresh, tart taste it adds to desserts, and I love the bright pink color that it produces as it’s bubbling away while it bakes! I wanted to make something a little different than the traditional strawberry-rhubarb pie, so I came up with this Rhubarb Raspberry Crisp, which is to die for! Paired with the sweeter raspberries and a dash of vanilla, the rhubarb filling is just tart enough, and complements the sweet, crunchy topping just perfectly! Add some vanilla ice-cream on top of your warm Rhubarb Raspberry Crisp, and you have the most wonderful summer dessert!
.

RHUBARB RASPBERRY CRISP
*Serves Two*
.
YOU WILL NEED
FILLING
3/4 rhubarb stalk, chopped
4 oz fresh raspberries
1/2 tbs cornstarch
1/4 tsp pure vanilla extract
2 tbs granulated sugar
.
TOPPING
1/4 cup all-purpose flour
1/4 cup rolled oats
2 1/2 tbs unsalted butter, softened
2 1/2 tbs brown sugar
Tiny pinch of salt
;
.
DIRECTIONS
.
1. First, prepare your fruit. Wash the raspberries and scrub the rhubarb well. Cut off both of the ends of the rhubarb stalk, then cut it into small chunks. Place all the fruit in a small bowl and gently toss it with the granulated sugar (if you prefer a sweeter filling, add an extra tablespoon of it). Set aside.
.
2. Next, prepare your topping. In a small bowl, combine all the ingredients together. You could definitely use a food processor or a mixer to get all the ingredients combined, but I prefer to do it by hand. You should end up with medium sized crumbles that you will spread over the fruit.
.
3. Preheat your oven to 350 deg F and finish off your fruit filling by adding in the vanilla extract and the cornstarch. Mix gently, so you don’t mush the raspberries. Place all the fruit evenly into your baking dish (I used a small, 7 inch oval baking dish) then cover with the topping. Place the baking dish onto a larger baking sheet covered with foil or baking paper (just to make sure that any liquid that comes out of the crisp is caught on it and you don’t have to scrub your oven afterwards!) Bake for about 45 minutes, or until the top is golden brown and the fruit is bubbling (I covered the baking dish with foil after about 20 minutes of baking time to make sure the topping didn’t burn). Let cool for a couple of minutes, then serve warm with vanilla ice-cream.
.
(*Note: You will need to double or triple the recipe for the filling as well as the topping if you are making it for a big crowd! This recipe only makes a dessert to share for two!)
l
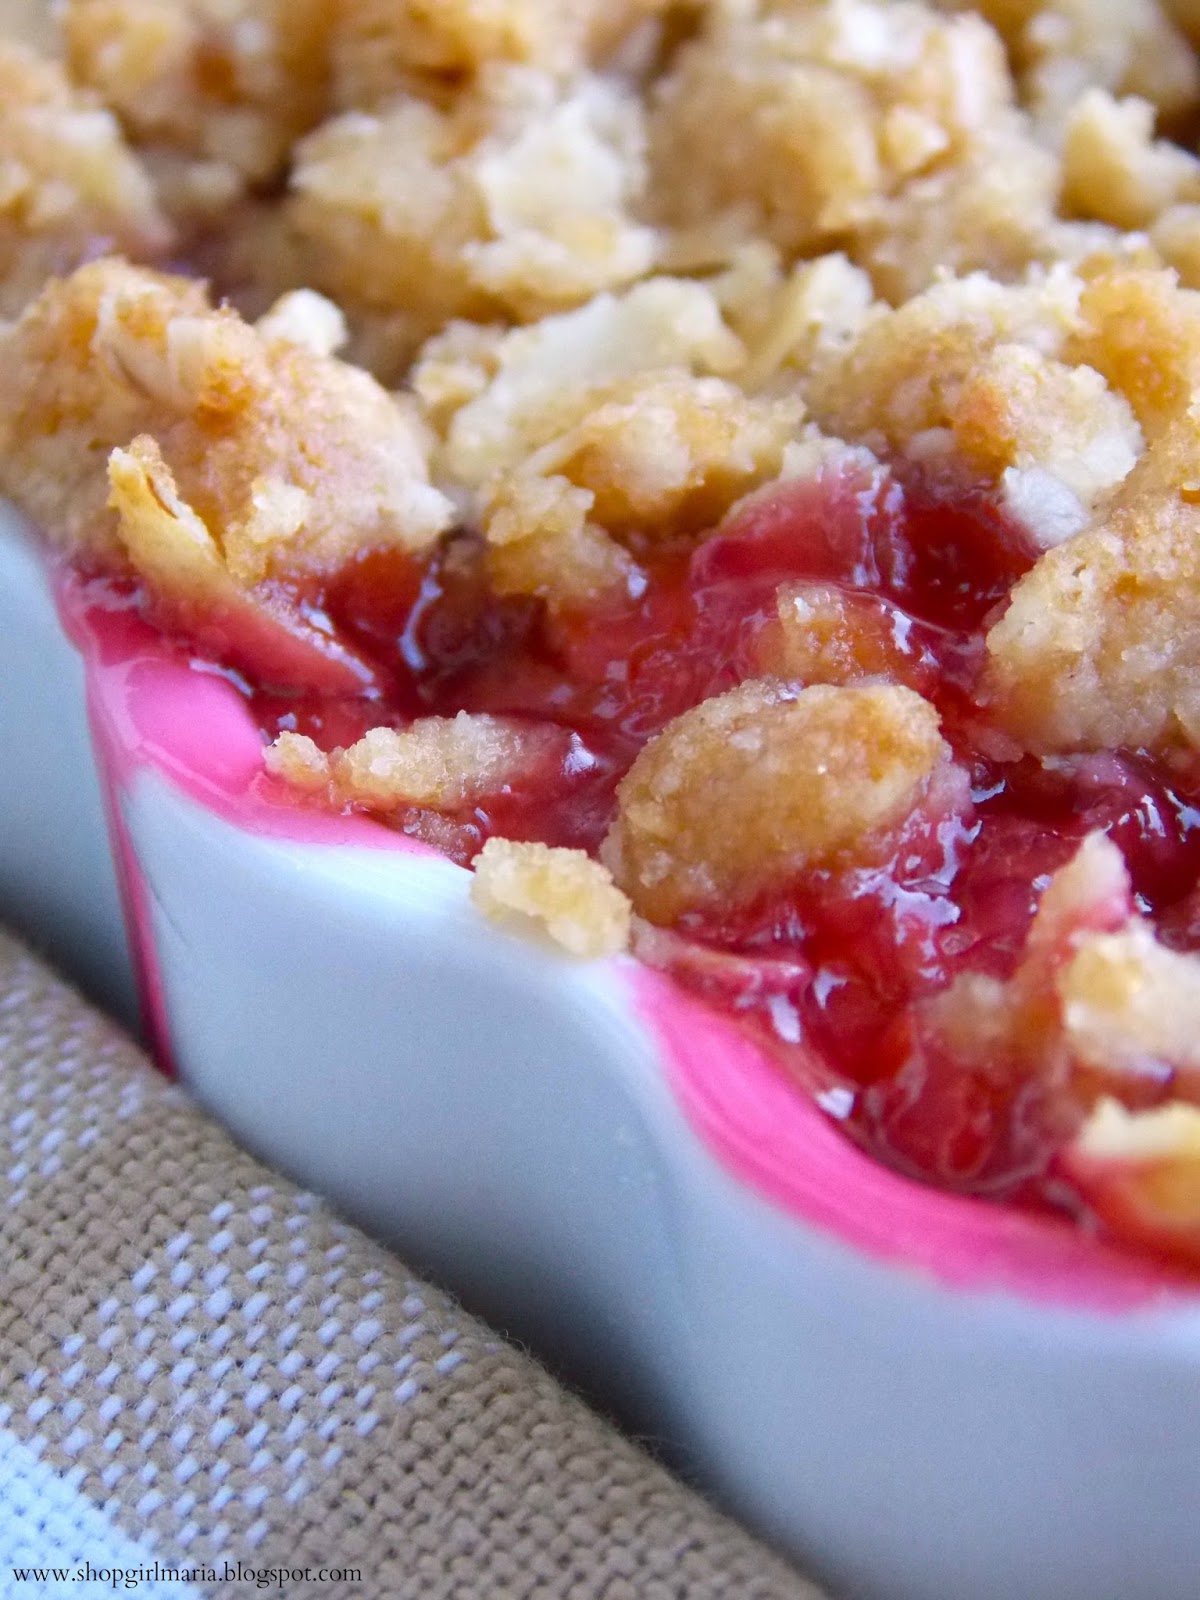
Happy Baking, Everyone!