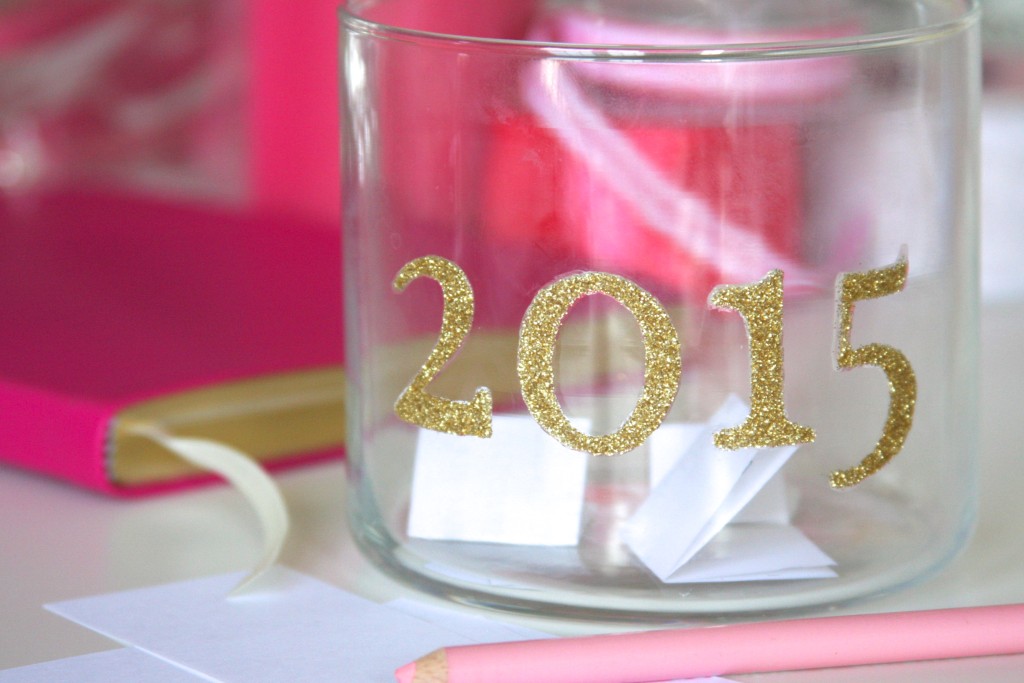
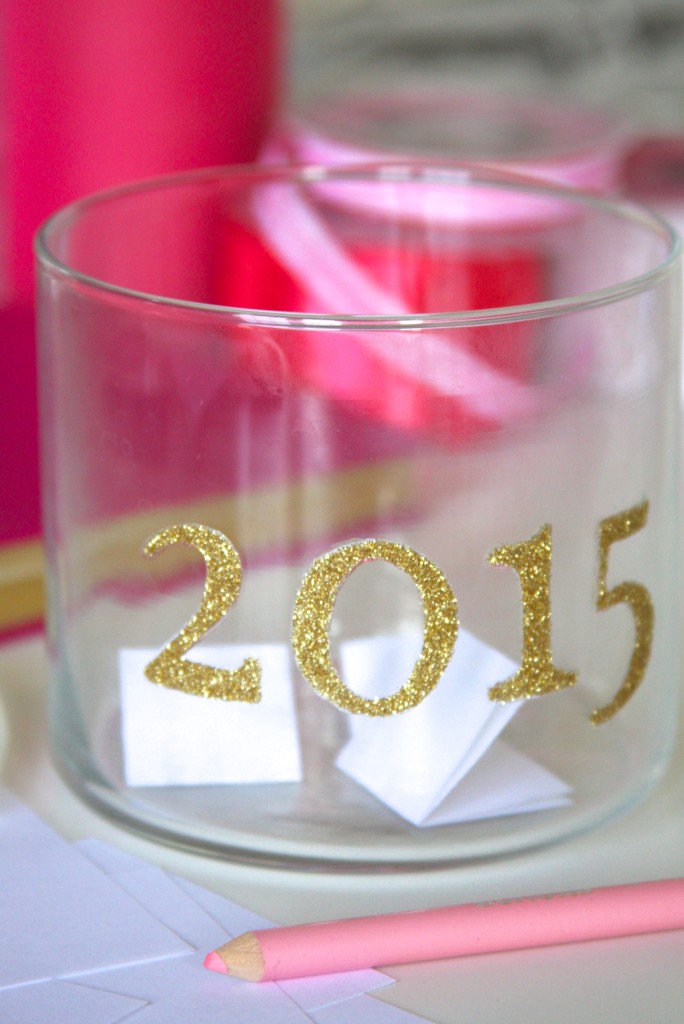
Hi Everyone! Welcome to A Homemade Living! I’m so excited to finally let you see my new site that I’ve been working on for the past couple of weeks! You can still find all my old posts with my recipes, crafts and tutorials on here, and I’m looking forward to sharing lots of new ideas with you this year! I hope that 2015 has been off to a good start for you, and that if you made any new year’s resolutions, they are going even better than you expected! As much as I love Christmas and the whole holiday season, once it’s over and the Christmas tree and all the festive decorations are put away, I’m ready for the new year and for a clean start (and warmer weather. But that clearly isn’t happening anytime soon). I wanted to share a fun DIY project with you that’s a great way to start the year with the right mindset. I remember a couple of years ago, lots of my friends were writing “grateful journals”, writing down things they were thankful for every day. I loved the idea but never got around to doing it myself, so I thought I would do something similar with this 2015 Memory Jar idea. What you do is fill the jar with pieces of paper containing good memories and things you are thankful for over the course of the year, then look back at them when the year is over. Sometimes, simply focusing on the good and remembering to be thankful even for the little things, does more for the soul than we realize!
YOU WILL NEED
Glass jar
Glitter
Mod Podge
Paintbrush
Clear tape
“2015” stencil on paper (hand-drawn or printed)
DIRECTIONS
1. First, choose your jar (big enough to fill with lots of pieces of paper over the course of the year!) and make sure it’s clean, since you’ll be applying glitter onto its surface. (I used a clean candle jar, you can find my tutorial for how to remove wax from candle jars here!) Next, create your “2015” stencil. Either print the numbers on a piece of paper or hand-draw them. Place the piece of paper inside the jar (with the letters facing the glass so you can trace them) and position it where you want it, then secure it with some tape.
2. Using a paintbrush, fill in the numbers with mod podge one at a time, sprinkling each with glitter after you paint it with the mod podge. Carefully shake off the excess glitter, and let the glitter dry completely. Once dry, do another coat. Paint over each glittery number with mod podge again, and sprinkle each with glitter again. Shake off the excess glitter again, and let the jar dry. Then, paint each glittery number with a layer of mod podge one last time, to make sure all the glitter is stuck on well, and to give the numbers a smooth finish. Let the jar dry completely and clean off any excess glitter with a piece of soft fabric or a cotton ball. And once you’re done, it’s time to start filling the jar!
I hope that 2015 brings you lots of new adventures, things to celebrate and happy memories! Have a great week, Everyone!
I will be linking to these awesome blogs!

I love this concept and I think it will be such a treasure at the end of the year! Stopping by from the Lamberts Lately Link up. Love what you are doing!
Best,
Meredith
Thanks, Meredith! I hope the new year has been off to a good start for you! 🙂
Happy New Year, Maria!
Congrats on your new site; it’s beautiful! I’m so glad all your wonderful recipes are all intact, as I’ve tried several and they have all turned out tasty and delightful. Your 2015 memory jar is very pretty and practical. Thanks for the step-by-step instructions, too.
Hope 2015 is a great year, for you!
Poppy
Hi Poppy! Thank you so much for the sweet comment, I really appreciate it! I hope that 2015 is great for you too! 🙂
What a fun idea to collect memories this way!
Thanks, Julia! I can’t wait to read them all at the end of the year 🙂 I hope the new year has been good for you so far! Thanks so much for stopping by!
Thanks for the inspiration! Simple yet elegant…
Thanks! Glad you liked it, it’s a fun way to collect memories 🙂 Hope this new year has started off well for you! Thanks so much for stopping by, hope you have a great week!
love this! Had no idea you could do this with glitter and mod podge!
Thanks, Lauren! I love mod podge, I feel like you can use it for anything! 🙂 Thanks so much for stopping by!
This is a lovely idea. xo Catherine
Thanks, Catherine 🙂 I thought it would be a fun way to collect memories over the year, the jar is filling up already 🙂 Have a great weekend!
Popping over from Treasure Box Tuesday =) I love the simplicity of it. Very pretty. I’m doing a #52Lists2015 series this year. Just lists of things: jobs, favorite foods, places I’ve been, etc. Be sure to share your crafts & DIYs at Two Uses Tuesday (Mon 11pm EST to Fri 11pm EST) over at Sarah Celebrates if you don’t already!
Thanks, Sarah, I’ll come check it out! 🙂
Love this idea so much! Probably gonna do this today, not too late to start 😉 can’t wait to look back at all the memories 2015 has to bring in December! xxx
Hi Zoe! It’s still January, so it’s definitely not too late to make a memory jar 🙂 I can’t wait to look back at the memories later too, I hope it becomes a yearly tradition 🙂 Hope 2015 is a wonderful year for you!